
- What Are Tuna Rice Balls?
- Tips for Cooking and Prepping
- Recipe Variations and Substitutes
- Serving Suggestions
- Storing, Make-Ahead, and Freezing Tips
- FAQs
- Tuna Rice Balls: Simple & Delicious Recipe!
If you’ve ever wandered through a Japanese convenience store or bento shop, chances are you’ve spotted these adorable triangle-shaped rice balls stacked in neat rows. Tuna rice balls, known as tuna mayo onigiri, are one of the most beloved Japanese comfort snacks, and the good news is they’re incredibly easy to make at home. With just a handful of pantry staples, you can whip up a batch of these savory, slightly sweet, and satisfying bites in under half an hour.
What Are Tuna Rice Balls?
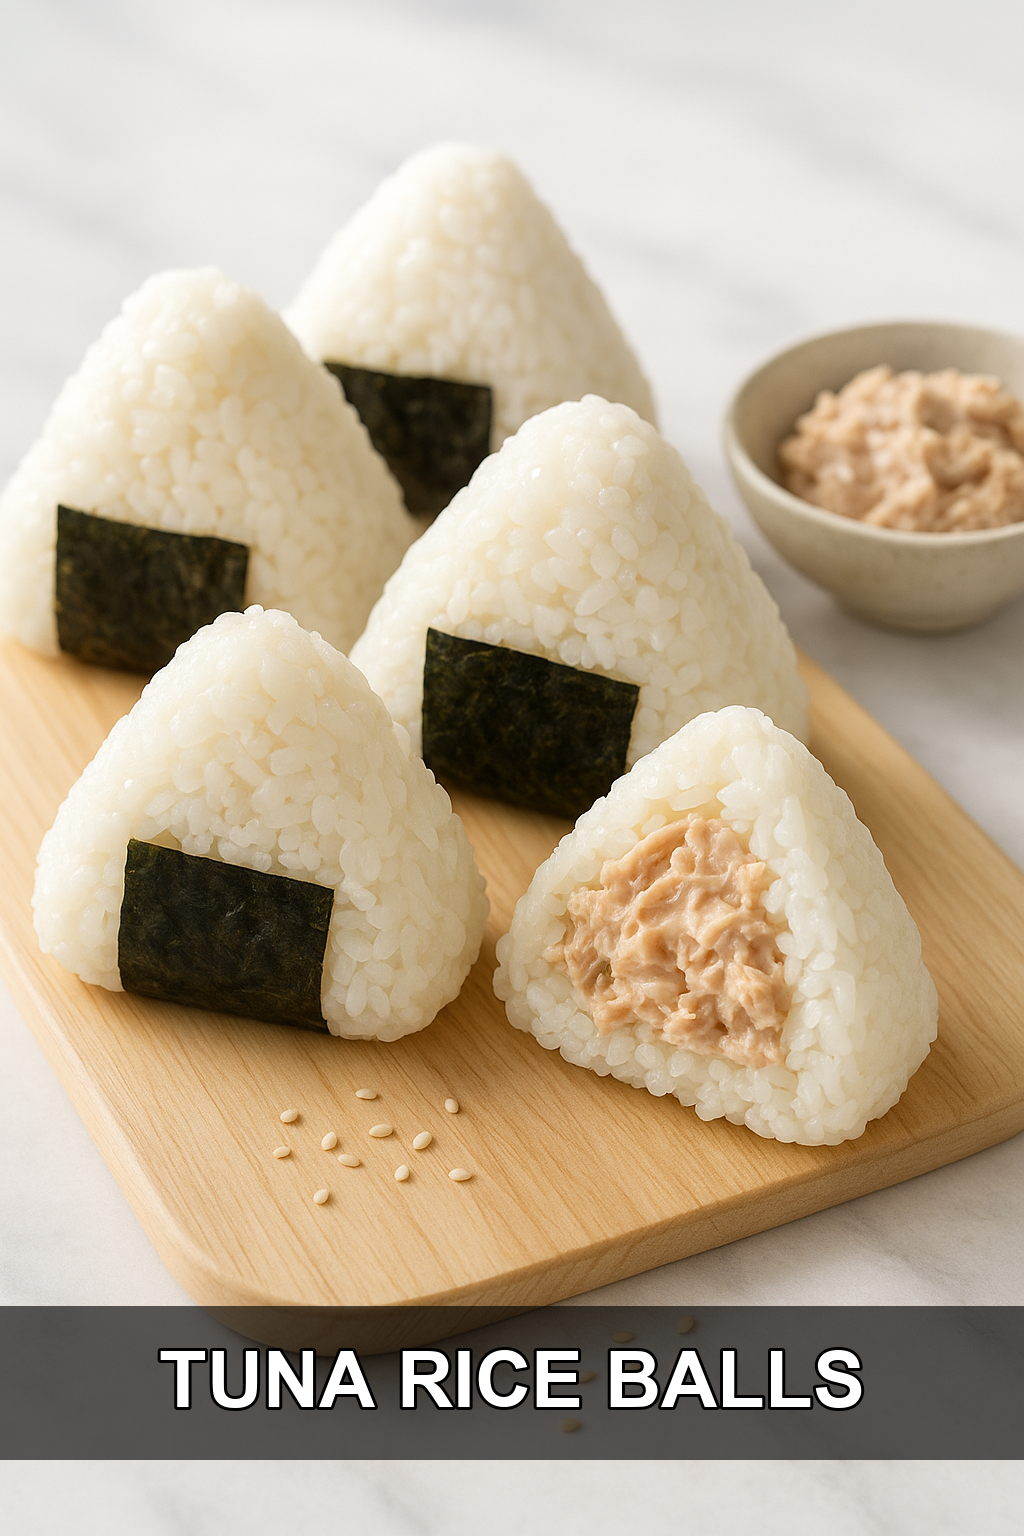
Tuna rice balls, or tuna mayo onigiri, are a classic Japanese snack made by wrapping seasoned white rice around a savory filling and shaping it into a triangle or ball. The filling in this version is canned tuna cooked in a sweet soy sauce glaze and mixed with a touch of creamy Japanese mayonnaise, giving the rice balls a rich, umami-packed center that contrasts beautifully with the plain, slightly salted rice on the outside.
Onigiri have been a staple of Japanese cuisine for centuries, originally created as a portable, no-fuss way to eat rice on the go. Today they’re sold everywhere from train station kiosks to grocery stores, and tuna mayo is consistently one of the most popular flavors because it’s rich, filling, and appeals to both kids and adults. Making them at home means you can customize the filling, control the seasoning, and enjoy them fresh and warm.
Tips for Cooking and Prepping
#1: Use short grain Japanese rice
Short grain Japanese rice has the right starch content to become sticky enough to hold its shape once formed, so avoid substituting long grain or basmati rice, which won’t bind together properly.
#2: Let the rice cool slightly before shaping
Freshly cooked rice straight from the cooker is scorching hot, so let it sit for a few minutes until it’s warm but comfortable to handle before you try to form the balls.
#3: Wet or salt your hands (or use plastic wrap)
Rice sticks aggressively to dry skin, so keep a small bowl of water nearby to dampen your hands, or work inside a sheet of plastic wrap with a pinch of salt for an easier, mess-free shaping process.
#4: Reduce the tuna sauce until it’s mostly absorbed
Cook the tuna, soy sauce, sugar, and mirin mixture until the liquid has thickened and soaked into the fish; a filling that’s too wet will make the rice balls soggy and harder to shape.
#5: Pack the rice firmly but don’t overdo it
Press the rice together with enough pressure that the ball holds together when unwrapped, but avoid compacting it so hard that the texture turns dense and gummy instead of light and fluffy.
#6: Add seaweed right before serving
If you’re using nori strips, wrap them on just before eating rather than storing the rice balls pre-wrapped, since the seaweed will absorb moisture from the rice and turn soft and chewy instead of crisp.
Recipe Variations and Substitutes
While this recipe sticks to the classic tuna mayo combination, onigiri are endlessly adaptable. Swap the albacore tuna for canned salmon, cooked chicken, or even a spoonful of furikake seasoning mixed straight into the rice for a simpler, fillingless version. You can also add a pinch of chili flakes or a dash of sriracha to the tuna mixture if you like a spicier kick, or fold in some finely chopped green onion for extra freshness.
Serving Suggestions
Tuna rice balls are a complete little meal on their own, but they pair wonderfully with a simple miso soup, a side of pickled vegetables (tsukemono), or a light cucumber salad. They also make a fantastic addition to a bento box alongside some edamame, sliced fruit, and a few pieces of tamagoyaki (Japanese rolled omelet) for a well-rounded, portable lunch.
Storing, Make-Ahead, and Freezing Tips
Tuna rice balls are best enjoyed fresh the day they’re made since rice tends to harden and lose its pleasant texture once refrigerated. If you do need to store them, wrap each ball tightly in plastic wrap and keep at room temperature for a few hours, or refrigerate for up to a day and let them come back to room temperature before eating. For longer storage, you can freeze the shaped rice balls (without seaweed) wrapped individually in plastic and reheat them gently in the microwave with a damp paper towel to restore moisture.
FAQs
Can I use regular mayonnaise instead of Japanese mayo?
You can, but Japanese mayonnaise like Kewpie has a richer, slightly tangier flavor thanks to rice vinegar and egg yolks, which really is what gives tuna mayo onigiri its signature taste, so it’s worth seeking out if possible.
Why won’t my rice balls hold together?
This usually happens if the rice is too dry, undercooked, or has cooled too much before shaping; make sure you’re using short grain sushi-style rice and shaping it while it’s still warm and slightly sticky.
Can I make these without a rice cooker?
Yes, you can cook the rice on the stovetop using the standard water-to-rice ratio for Japanese short grain rice; just be sure to let it rest covered for about 10 minutes after cooking so the texture is right for shaping.
Is the seaweed necessary?
Not at all. The nori strip is a traditional finishing touch that adds flavor and makes the rice balls easier to hold, but you can skip it entirely or replace it with a sprinkle of sesame seeds if you prefer.
What type of tuna works best?
Solid white albacore tuna packed in water is ideal because it has a milder flavor and firmer texture that holds up well when cooked in the soy-mirin glaze, but you can experiment with chunk light tuna too.
Tuna Rice Balls: Simple & Delicious Recipe!
Prep time: 15 min | Cook time: 10 min | Total time: 25 min | Servings: 4
Ingredients
For the Rice
- 2 cups uncooked Japanese short grain rice (rice cooker cups, not regular cups)
- Water (as needed for cooking rice)
- Salt, to taste
For the Tuna Filling
- 1 can solid white albacore tuna
- 1 tablespoon soy sauce
- 1 tablespoon granulated sugar
- 1 tablespoon mirin
- Japanese mayonnaise, to taste
For Assembly (Optional)
- Seaweed (nori), cut into strips
- Ground sesame seeds, for topping
Instructions
- Cook the 2 cups of rice in your rice cooker according to the machine’s instructions.
- While the rice is nearly finished cooking, add the canned tuna to a small pan and place over medium heat.
- In a small bowl, whisk together the soy sauce, sugar, and mirin, then pour the mixture over the tuna in the pan.
- Cook and stir the tuna until the sauce is fully absorbed and the mixture looks glossy and slightly thickened, then remove from heat.
- Spread out a square of plastic wrap and sprinkle a little salt in the center.
- Scoop about 1/3 cup of warm rice onto the wrap and spread it out slightly to make room for the filling.
- Add a spoonful of the tuna mixture to the center of the rice and top with a small dollop of Japanese mayonnaise.
- Use the plastic wrap to fold the rice up and completely enclose the filling, then shape it into a tight triangle with your hands.
- Continue shaping until the rice holds together firmly on its own, then unwrap and check that it stays intact.
- Wrap a strip of seaweed around one side of the rice ball if desired, or top with ground sesame seeds instead, and serve.
For a fun twist, try mixing in a little sriracha or chopped green onion with the tuna filling, or swap in canned salmon for a different flavor. These are best eaten the same day they’re made for the freshest texture.
Leave a Reply
You must be logged in to post a comment.