
- What Is Spicy Bulgogi Beef Bibimbap?
- Tips for Cooking and Prepping
- Recipe Variations and Substitutes
- Serving Suggestions
- Storing, Make-Ahead, and Freezing Tips
- FAQs
- Spicy Bulgogi Beef Bibimbap Recipe
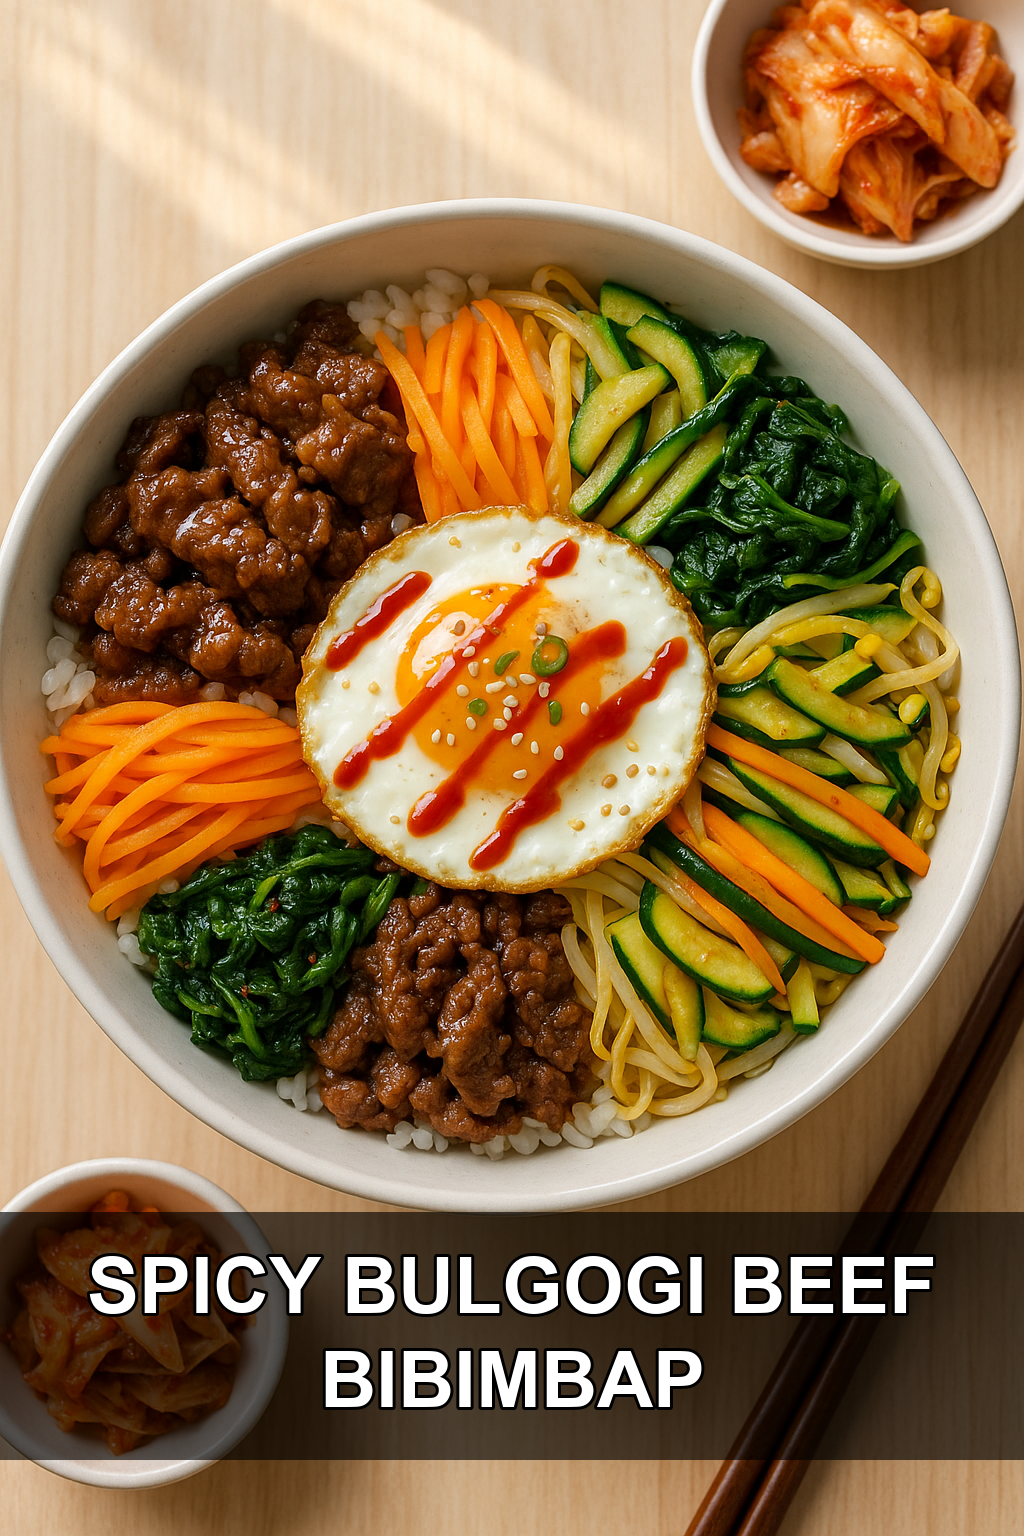
If you’ve ever wanted to recreate that sizzling, saucy bibimbap bowl from your favorite Korean restaurant, this is the recipe to bookmark. Spicy marinated bulgogi beef, crunchy pickled radish, sautéed vegetables, and a crispy-edged fried egg all come together over warm rice, tied together with a punchy gochujang sauce. It looks impressive but comes together faster than takeout.
What Is Spicy Bulgogi Beef Bibimbap?
Bibimbap literally means “mixed rice” in Korean, and it’s exactly that: a bowl of warm rice topped with an assortment of seasoned vegetables, protein, and a fried egg, all mixed together at the table with a spoonful of gochujang sauce. Traditionally served in either a regular bowl or a sizzling hot stone pot (dolsot bibimbap) that crisps the rice on the bottom, it’s one of Korea’s most iconic comfort foods.
This version leans into two of the best parts of Korean cooking: bulgogi, the classic sweet-savory marinated beef, and a spicy gochujang kick that ties the whole bowl together. Adding a crispy fried egg with lacy, golden edges and tangy quick-pickled radish gives every bite contrast, crunch, and richness alongside the tender beef.
Tips for Cooking and Prepping
#1: Slice the beef thin and slightly frozen
Bulgogi is traditionally very thinly sliced so it cooks fast and stays tender. Pop the beef in the freezer for 20-30 minutes before slicing to make paper-thin cuts much easier.
#2: Marinate at least 30 minutes, but don’t over-marinate
The pear or apple in the marinade tenderizes the beef with natural enzymes, but leaving it too long (over 12 hours) can turn the texture mushy. 30 minutes to 4 hours is the sweet spot.
#3: Pickle the radish first thing
Quick-pickled radish needs at least 20 minutes to develop its tangy crunch, so make it before anything else so it has time to sit while you prep the rest of the bowl.
#4: Cook the beef in a very hot, dry pan
For that slightly charred, caramelized bulgogi flavor, get your skillet screaming hot before adding the beef and avoid overcrowding the pan, which steams the meat instead of searing it.
#5: Fry the egg hot and fast for crispy edges
Use enough oil to shallow-fry the egg and keep the heat medium-high so the whites bubble and crisp at the edges while the yolk stays soft and runny.
#6: Arrange toppings in separate piles before serving
Keep each topping in its own little section on top of the rice instead of mixing everything beforehand — it makes for a much prettier bowl and lets everyone stir it together themselves at the table.
Recipe Variations and Substitutes
Swap the beef for thinly sliced chicken thigh, pork shoulder, or firm tofu if you want a different protein, using the same bulgogi marinade. For the vegetables, feel free to rotate in whatever you have on hand — spinach, bean sprouts, shredded carrots, zucchini, and mushrooms are all traditional bibimbap additions sautéed separately with a little sesame oil and salt. If you can’t find gochujang, mix sriracha with a touch of miso paste and honey for a similar sweet-spicy flavor.
Serving Suggestions
Serve the bibimbap with a side of kimchi and a light cucumber salad to round out the meal, plus a sprinkle of extra sesame seeds and sliced scallions on top for freshness. A cold glass of barley tea or a light Korean beer pairs beautifully with the spice from the gochujang sauce.
Storing, Make-Ahead, and Freezing Tips
Store the components separately in airtight containers in the fridge for up to 3 days — this keeps the pickled radish crisp and prevents the rice from getting soggy. The beef and sauce can be made a day or two ahead and reheated in a hot skillet, but the egg should always be fried fresh right before serving. Freezing isn’t recommended once assembled, though the raw marinated beef freezes well for up to 2 months.
FAQs
Can I make bibimbap ahead of time for meal prep?
Yes — cook the beef, sauté the vegetables, and make the pickled radish up to 3 days ahead, storing everything separately. Reheat the beef and rice, then fry a fresh egg right before eating for the best texture.
What’s the difference between bulgogi and regular bibimbap beef?
Bulgogi refers specifically to thin slices of beef marinated in a sweet-savory soy, garlic, and pear sauce before grilling or pan-searing, whereas plain bibimbap beef can be simply seasoned ground or sliced beef without the marinade.
Is bibimbap supposed to be spicy?
Traditional bibimbap is only mildly spicy from a small dollop of gochujang sauce mixed in at the end, but this recipe amps up the heat by adding extra gochujang to both the beef marinade and the sauce for a spicier bowl.
What rice works best for bibimbap?
Short-grain white rice is traditional because its sticky texture holds together well when mixed, though brown rice or cauliflower rice both work as lighter substitutes.
Can I make this vegetarian?
Absolutely — replace the beef with pan-fried firm tofu or extra sautéed mushrooms marinated in the same bulgogi sauce, and skip the egg or keep it for a vegetarian (non-vegan) version.
Spicy Bulgogi Beef Bibimbap Recipe
Prep time: 30 min | Cook time: 20 min | Total time: 50 min | Servings: 4
Ingredients
For the Bulgogi Beef
- 1 lb ribeye or sirloin, thinly sliced
- 3 tbsp soy sauce
- 1 tbsp brown sugar
- 1 tbsp sesame oil
- 2 cloves garlic, minced
- 1 tsp grated ginger
- 2 tbsp grated Asian pear or apple
- 1 tbsp gochujang
- 1 tsp gochugaru (Korean chili flakes), optional for extra heat
- 1 tbsp neutral oil, for cooking
For the Pickled Radish
- 1 cup daikon radish, julienned
- 1/4 cup rice vinegar
- 2 tbsp sugar
- 1/2 tsp salt
- 2 tbsp water
For the Bibimbap Sauce
- 2 tbsp gochujang
- 1 tbsp soy sauce
- 1 tbsp sesame oil
- 1 tbsp rice vinegar
- 1 tsp honey
- 1 clove garlic, minced
For Assembly
- 4 cups cooked short-grain white rice
- 4 large eggs
- 2 tbsp vegetable oil, for frying eggs
- 1 cup baby spinach, quickly blanched and seasoned with sesame oil and salt
- 1 cup bean sprouts, blanched and seasoned with sesame oil and salt
- 1 carrot, julienned and quickly sautéed
- 1 zucchini, julienned and quickly sautéed
- 2 tbsp toasted sesame seeds
- 2 scallions, thinly sliced
Instructions
- Make the pickled radish first: combine julienned daikon, rice vinegar, sugar, salt, and water in a small bowl. Toss well and set aside to pickle while you prep everything else, at least 20 minutes.
- In a medium bowl, combine soy sauce, brown sugar, sesame oil, garlic, ginger, grated pear, gochujang, and gochugaru (if using). Add the sliced beef and toss to coat. Let marinate for at least 30 minutes at room temperature or up to 4 hours in the fridge.
- Whisk together all bibimbap sauce ingredients in a small bowl and set aside.
- Prepare the vegetables: quickly blanch the spinach and bean sprouts separately in boiling water for 30-60 seconds, then squeeze out excess water and season each with a drizzle of sesame oil and a pinch of salt. Sauté the julienned carrot and zucchini separately in a hot pan with a touch of oil for 1-2 minutes each until just tender, seasoning lightly with salt.
- Heat a large skillet or wok over high heat until very hot. Add the marinated beef in a single layer (working in batches if needed) and sear for 2-3 minutes, stirring occasionally, until caramelized and cooked through.
- In a separate nonstick skillet, heat vegetable oil over medium-high heat. Crack in the eggs one or two at a time and fry until the whites are crispy and golden at the edges but the yolk is still runny, about 2-3 minutes.
- To assemble, divide the warm rice among four bowls. Arrange the bulgogi beef, pickled radish, spinach, bean sprouts, carrot, and zucchini in separate sections on top of the rice.
- Top each bowl with a crispy fried egg, a generous drizzle of bibimbap sauce, a sprinkle of sesame seeds, and sliced scallions. Serve immediately, mixing everything together at the table before eating.
For an extra-authentic touch, serve this in a hot stone bowl (dolsot) that’s been coated with a little sesame oil — the rice at the bottom will crisp up into a delicious crunchy layer as you eat.
Leave a Reply
You must be logged in to post a comment.