
- What Is Seasoned Brown Rice?
- Tips for Cooking and Prepping
- Recipe Variations and Substitutes
- Serving Suggestions
- Storing, Make-Ahead, and Freezing Tips
- FAQs
- Instant Pot Seasoned Brown Rice Recipe
If you’re tired of bland, boring brown rice, this seasoned version is about to become your new go-to side dish. Sautéed onions and garlic infuse every grain with flavor, while the Instant Pot does all the heavy lifting for a hands-off, foolproof result. It’s the kind of recipe you’ll want to double up on for easy lunches and dinners all week long.
What Is Seasoned Brown Rice?
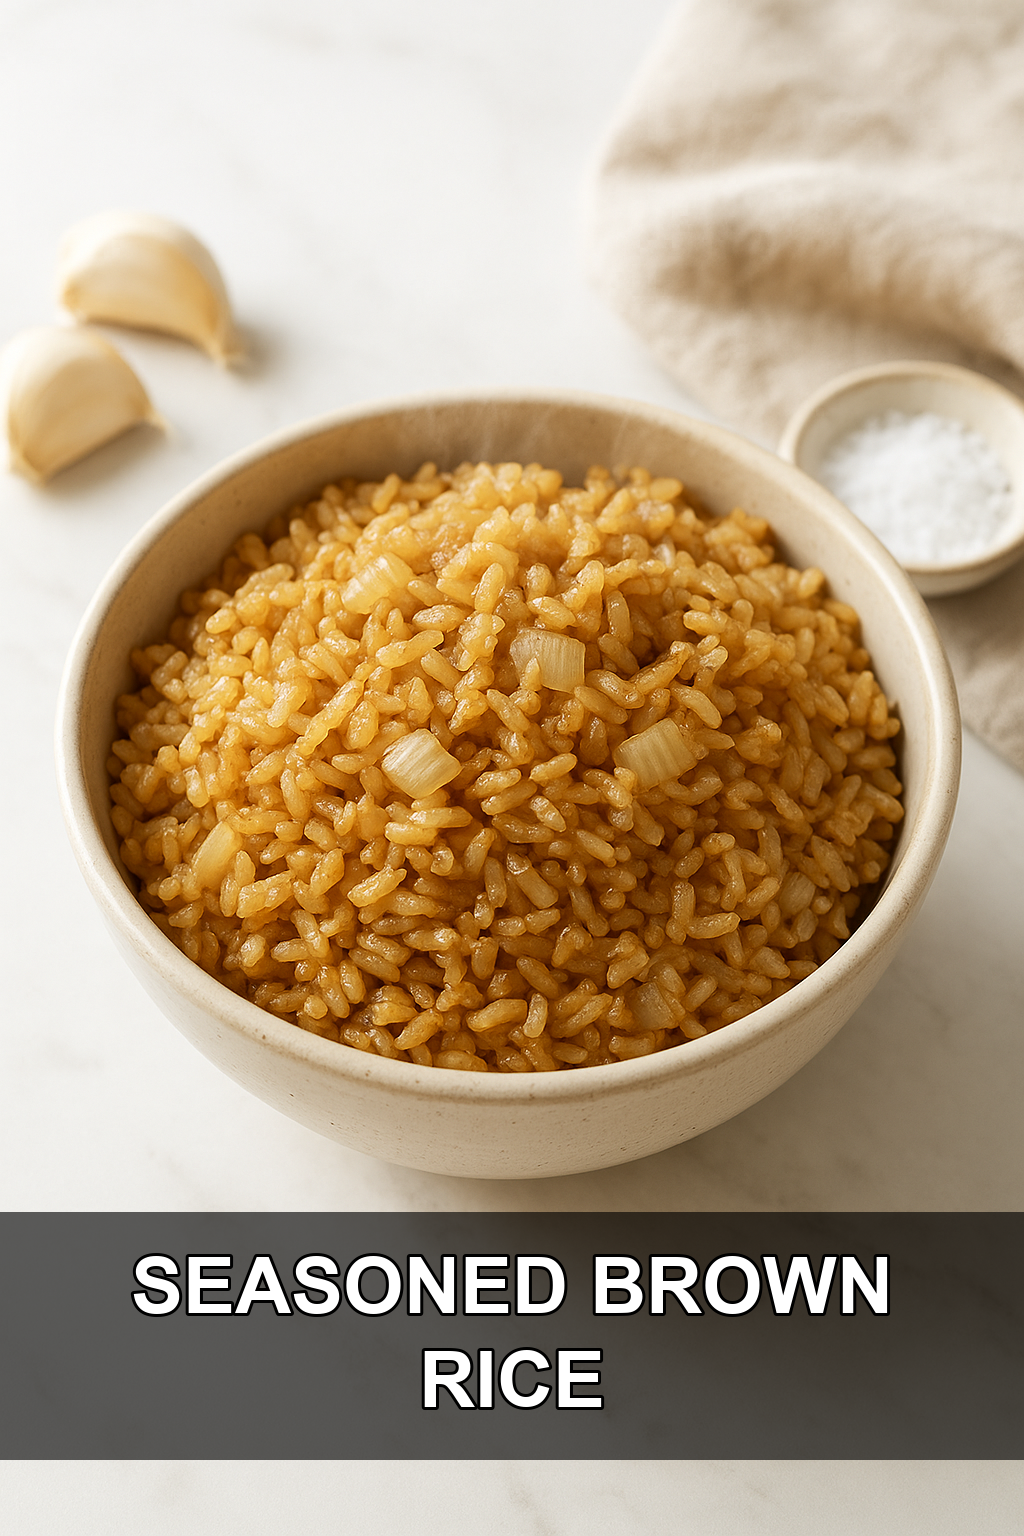
Seasoned brown rice is exactly what it sounds like: nutty, chewy long grain brown rice cooked with aromatics like garlic and onion instead of plain water, so the flavor gets built right into the grain as it cooks. It’s a simple upgrade from basic steamed rice, but it makes a huge difference in taste without adding much extra time or effort.
This particular version leans on the Instant Pot for hands-off, consistent results. Sautéing the onion, garlic, and rice in butter and olive oil before pressure cooking toasts the grains slightly and deepens the flavor, giving you a fragrant, savory rice that works as a base for countless meals throughout the week.
Tips for Cooking and Prepping
#1: Sauté the rice until it turns milky white
Toasting the dry rice with the onions and butter for 5-6 minutes coats the grains in fat and brings out a nutty aroma, which translates into better texture and flavor once pressure cooked.
#2: Grate the garlic for even distribution
Grating the garlic instead of mincing it releases more of its oils and allows it to blend seamlessly through the rice, so you get garlic flavor in every bite instead of occasional strong pockets.
#3: Get the water ratio exactly right
Brown rice needs more liquid than white rice, so stick to the 1.25 cups of water per 1 cup of rice ratio (about 1 3/4 cups plus 2 tablespoons for this recipe) to avoid mushy or undercooked results.
#4: Clear the pot sides before sealing the lid
Make sure no stray rice grains are stuck above the waterline on the inner pot walls; this prevents scorching or a burn notice during pressure cooking.
#5: Let the pressure release naturally for a few minutes
Allowing the rice to sit covered for 5-10 minutes after cooking (or letting it naturally release) helps the grains finish steaming gently and firm up before fluffing.
Recipe Variations and Substitutes
Swap the water for low-sodium chicken or vegetable stock for an even richer, more savory rice. You can also use ghee instead of butter for a dairy-free twist, or add a bay leaf, a pinch of cumin, or a squeeze of lime after cooking to shift the flavor profile depending on what you’re pairing it with.
Serving Suggestions
This seasoned brown rice is endlessly versatile—serve it alongside grilled chicken, roasted vegetables, or a saucy stir-fry, or use it as the base for a hearty grain bowl topped with beans, avocado, and salsa. It also holds up beautifully as a stuffing base for peppers or a side for tacos and fajita night.
Storing, Make-Ahead, and Freezing Tips
Let the rice cool completely before transferring to airtight containers; it keeps well in the fridge for up to 5 days, making it perfect for weekly meal prep. For longer storage, portion the cooled rice into freezer bags or containers and freeze for up to 3 months, then thaw overnight in the fridge or reheat straight from frozen with a splash of water.
FAQs
Can I make this seasoned brown rice without an Instant Pot?
Yes, you can use the same sautéing method in a large pot on the stovetop, then add the liquid, bring it to a boil, cover, and simmer on low for about 40-45 minutes until the rice is tender and the liquid is absorbed.
Why is my brown rice still hard after cooking?
Brown rice has a tough outer bran layer that requires enough liquid and cook time to soften fully, so double-check your water ratio and make sure you’re using the full 22-minute pressure cook time recommended in this recipe.
Can I meal prep this rice for the week?
Absolutely, this recipe was designed with meal prep in mind—cook a batch, portion it into containers, and pair it with different proteins and veggies throughout the week for quick, flavorful meals.
Do I need to rinse the brown rice before cooking?
Rinsing isn’t required for this recipe since the rice gets sautéed first, but a quick rinse can remove excess starch and dust if you prefer slightly less sticky grains.
Can I double this recipe?
Yes, you can double the ingredients as long as your Instant Pot has enough capacity, but keep the pressure cook time the same at 22 minutes since cook time depends on pressure, not volume.
Instant Pot Seasoned Brown Rice Recipe
Prep time: 5 min | Cook time: 27 min | Total time: 32 min | Servings: 5
Ingredients
- 1.5 cups brown rice, long grain, dry
- 1.5 tbsp garlic, about 7-8 cloves, grated
- 1.5 tbsp olive oil
- 1/2 tbsp unsalted butter
- Salt, to taste
- 1 cup white onion, medium onion, small diced
- 1 3/4 cups plus 2 tbsp water or stock
Instructions
- Set the Instant Pot to the sauté setting and add the olive oil. Once heated, add the diced onion and sauté for 2-3 minutes until soft.
- Add the dry brown rice and butter to the pot, and continue sautéing for 5-6 minutes, stirring occasionally, until the rice turns milky white.
- Stir in the grated garlic, 1 teaspoon of salt (adjust to taste), and the water or stock (about 1.25 cups per 1 cup of rice, or 1 3/4 cups plus 2 tablespoons for this recipe). Mix well and make sure no rice grains are stuck above the waterline on the sides of the pot.
- Close the lid and set the Instant Pot to Pressure Cook on High for 22 minutes.
- Once cooking is complete, quick release the pressure and leave the lid on for 5-10 minutes, or let the pressure release naturally for about 10 minutes.
- Open the lid and fluff the rice with a fork. Serve warm.
For extra flavor, substitute chicken or vegetable stock for the water, and feel free to stir in fresh herbs like parsley or cilantro right before serving.
Leave a Reply
You must be logged in to post a comment.