
- What Is Red Velvet Heart Cake?
- Tips for Cooking and Prepping
- Recipe Variations and Substitutes
- Serving Suggestions
- Storing, Make-Ahead, and Freezing Tips
- FAQs
- Red Velvet Heart Cake with Cream Cheese Frosting Recipe
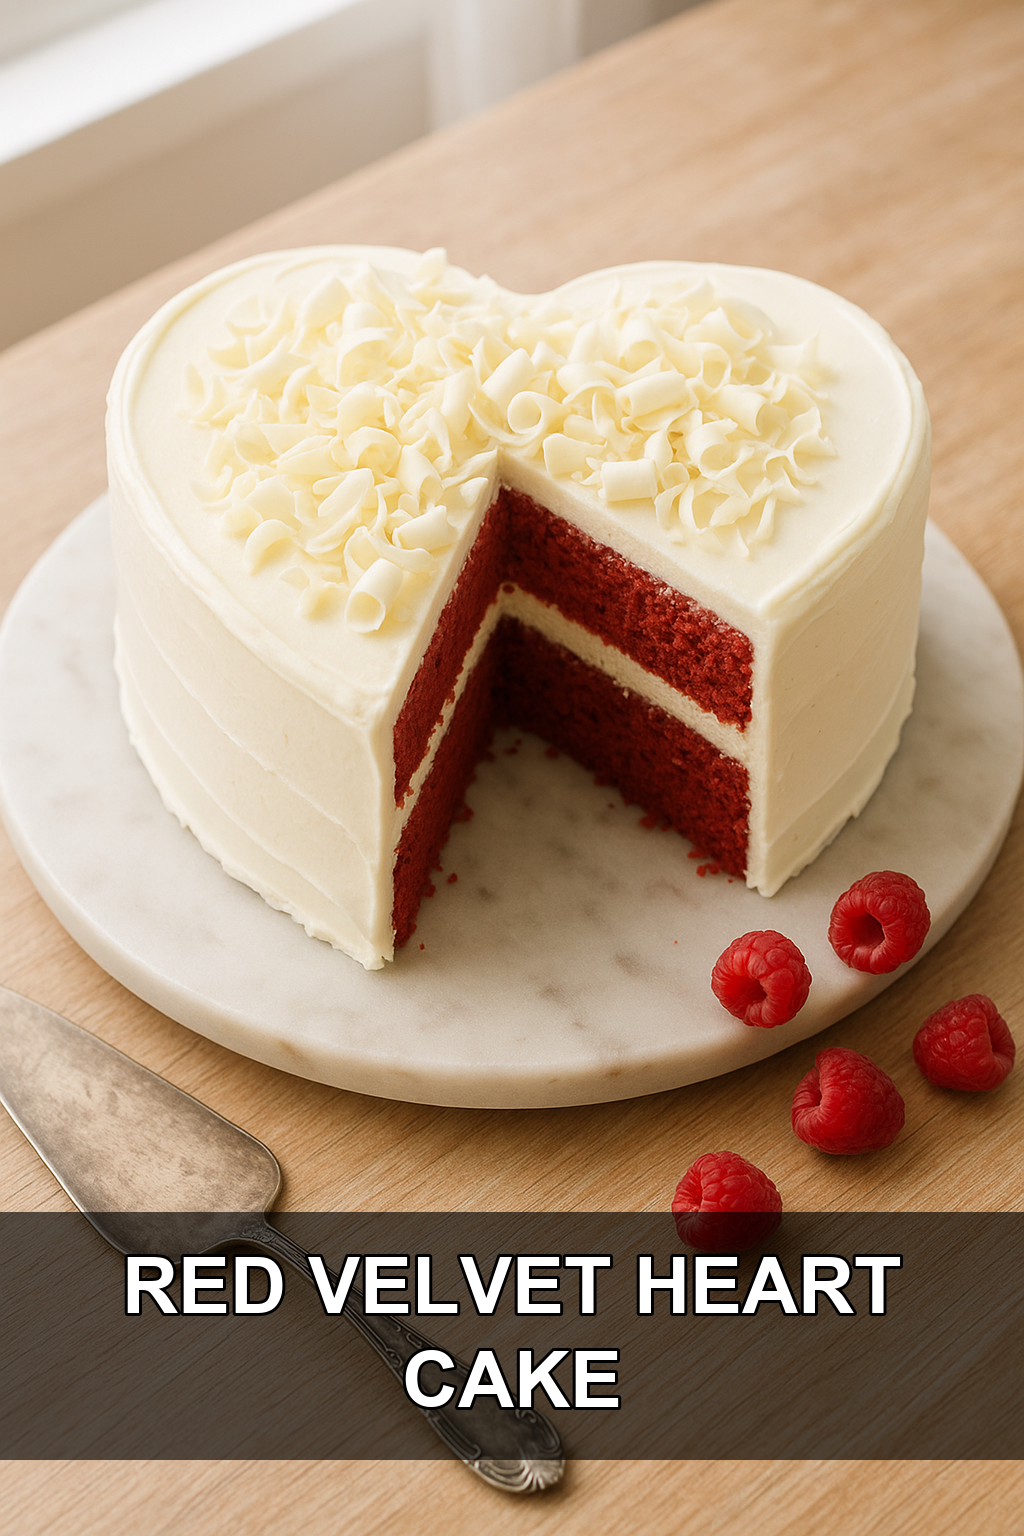
There’s something about a heart-shaped cake that instantly makes an occasion feel special, and this red velvet version is as delicious as it is beautiful. Soft, cocoa-kissed layers meet tangy cream cheese frosting and delicate white chocolate curls for a dessert that looks like it came from a bakery window but is completely doable in your own kitchen.
What Is Red Velvet Heart Cake?
Red velvet cake is a Southern classic known for its subtle cocoa flavor, deep crimson color, and irresistibly soft, velvety crumb, often achieved with buttermilk and a touch of vinegar. This heart-shaped version takes that same beloved cake and bakes it into a romantic silhouette, making it an instant showstopper for Valentine’s Day, anniversaries, or any celebration of love.
What truly sets this cake apart is the finishing touch: rich cream cheese frosting swirled generously over each layer, topped with delicate curls of white chocolate that catch the light and add an elegant, almost bridal touch. It’s a cake that feels indulgent and special-occasion-worthy, yet the components themselves are simple and approachable for home bakers.
Tips for Cooking and Prepping
#1: Use a real heart-shaped pan (or the square-plus-round trick)
If you don’t own a heart-shaped cake pan, bake one round layer and one square layer, then cut the round in half and attach the two halves to two sides of the square to form a heart shape.
#2: Don’t skip the buttermilk and vinegar
These two ingredients react with the baking soda to create red velvet’s signature tender, fine crumb, and the vinegar also helps balance the sweetness without adding any noticeable tang of its own.
#3: Chill the cake before frosting
Popping your cake layers in the freezer for 20-30 minutes before frosting makes them firmer and less crumbly, which means fewer red crumbs mixing into your white frosting.
#4: Make white chocolate curls with a warm vegetable peeler
Run a vegetable peeler along the edge of a slightly softened bar of white chocolate; if the chocolate is too cold it will shatter, so let it sit at room temperature for a few minutes first.
#5: Level your layers for clean, even stacking
Use a serrated knife or cake leveler to trim any domed tops so your heart shape stacks neatly and your frosting layers stay even and level.
#6: Crumb coat before the final frosting layer
Apply a thin layer of frosting first, chill it, then add your final smooth coat—this locks in crumbs and gives you a cleaner, more professional-looking finish.
Recipe Variations and Substitutes
You can swap the classic cream cheese frosting for a whipped vanilla buttercream if you prefer a sweeter, less tangy topping, or add a splash of espresso powder to the batter to deepen the chocolate notes. For a fun twist, tint the white chocolate curls a soft pink with oil-based food coloring, or fold in mini chocolate chips for extra texture in the cake itself.
Serving Suggestions
This cake is stunning served on its own with a cup of coffee or tea, but you can elevate it further with a few fresh raspberries or strawberries scattered around the base for a pop of color. It also pairs beautifully with a glass of sparkling rosé or champagne for a romantic dessert spread.
Storing, Make-Ahead, and Freezing Tips
Store the frosted cake covered in the refrigerator for up to 5 days, letting it sit at room temperature for 20-30 minutes before serving so the frosting softens slightly. You can bake the cake layers up to 2 months ahead and freeze them tightly wrapped in plastic, then thaw overnight in the fridge before frosting; the frosted cake itself can also be frozen for up to a month if wrapped well.
FAQs
Can I make this cake ahead of time for a party?
Yes, bake and wrap the cake layers up to 2 days ahead and store them at room temperature, then frost the day of or the night before serving for the freshest taste and texture.
Why did my red velvet cake turn out more brown than red?
This usually happens when too much cocoa powder is used relative to the food coloring, or when natural cocoa reacts with baking soda; using gel food coloring and measuring cocoa carefully helps keep that vibrant red hue.
How do I get my cream cheese frosting to hold its shape?
Make sure your cream cheese and butter are cold, not room temperature, before beating, and chill the frosting for 10-15 minutes if it becomes too soft to pipe or spread cleanly.
Can I use a heart-shaped cake pan instead of shaping it myself?
Absolutely, a dedicated heart-shaped cake pan will give you the cleanest shape and is worth the small investment if you plan to make heart cakes regularly.
What’s the best way to make white chocolate curls if I don’t have a peeler technique down?
You can also spread melted white chocolate thinly on a baking sheet, let it firm up just slightly, then scrape a bench scraper or metal spatula across the surface at an angle to create curls.
Red Velvet Heart Cake with Cream Cheese Frosting Recipe
Prep time: 40 min | Cook time: 30 min | Total time: 70 min | Servings: 10
Ingredients
For the Red Velvet Cake
- 2 1/2 cups all-purpose flour
- 1 1/2 cups granulated sugar
- 1 teaspoon baking soda
- 1 teaspoon salt
- 1 tablespoon unsweetened cocoa powder
- 1 1/2 cups vegetable oil
- 1 cup buttermilk, room temperature
- 2 large eggs, room temperature
- 2 tablespoons red gel food coloring
- 1 teaspoon vanilla extract
- 1 teaspoon white vinegar
For the Cream Cheese Frosting
- 16 oz cream cheese, softened
- 1 cup unsalted butter, softened
- 5-6 cups powdered sugar, sifted
- 2 teaspoons vanilla extract
- Pinch of salt
For the White Chocolate Curls
- 1 (4 oz) bar high-quality white chocolate
Instructions
- Preheat the oven to 350°F (175°C) and grease and flour a heart-shaped cake pan (or two 8-inch round and square pans for the DIY method).
- In a large bowl, whisk together the flour, sugar, baking soda, salt, and cocoa powder.
- In a separate bowl, whisk together the vegetable oil, buttermilk, eggs, red food coloring, vanilla extract, and vinegar until fully combined.
- Pour the wet ingredients into the dry ingredients and mix until just combined, being careful not to overmix.
- Divide the batter evenly between prepared pans and bake for 25-30 minutes, or until a toothpick inserted in the center comes out clean.
- Let the cakes cool in the pans for 10 minutes, then transfer to a wire rack to cool completely.
- If using the square-plus-round method, cut the round cake in half and position each half against two adjacent sides of the square cake to form a heart shape; trim as needed.
- For the frosting, beat the cream cheese and butter together until smooth and creamy, about 2 minutes.
- Gradually add the powdered sugar, 1 cup at a time, beating well after each addition, then mix in the vanilla extract and salt until fluffy.
- Level the cooled cake layers with a serrated knife, then stack and frost between layers, around the sides, and on top with the cream cheese frosting.
- To make white chocolate curls, let the bar sit at room temperature for a few minutes, then run a vegetable peeler along the edge to create curls; refrigerate curls briefly if they become too soft to handle.
- Decorate the top and sides of the cake generously with the white chocolate curls just before serving.
- Slice with a sharp knife and serve chilled or at room temperature.
For the deepest red color, use gel food coloring rather than liquid, and always chill your cake layers before frosting to keep crumbs at bay.
Leave a Reply
You must be logged in to post a comment.