
- What Is Pressure Cooker Rice?
- Tips for Cooking and Prepping
- Recipe Variations and Substitutes
- Serving Suggestions
- Storing, Make-Ahead, and Freezing Tips
- FAQs
- Pressure Cooker Rice Recipe
If you’ve ever ended up with mushy, burnt, or half-cooked rice on the stovetop, your pressure cooker is about to become your new best friend. This simple method takes the guesswork out of cooking rice completely, giving you perfectly fluffy grains every single time with almost no effort on your part.
What Is Pressure Cooker Rice?
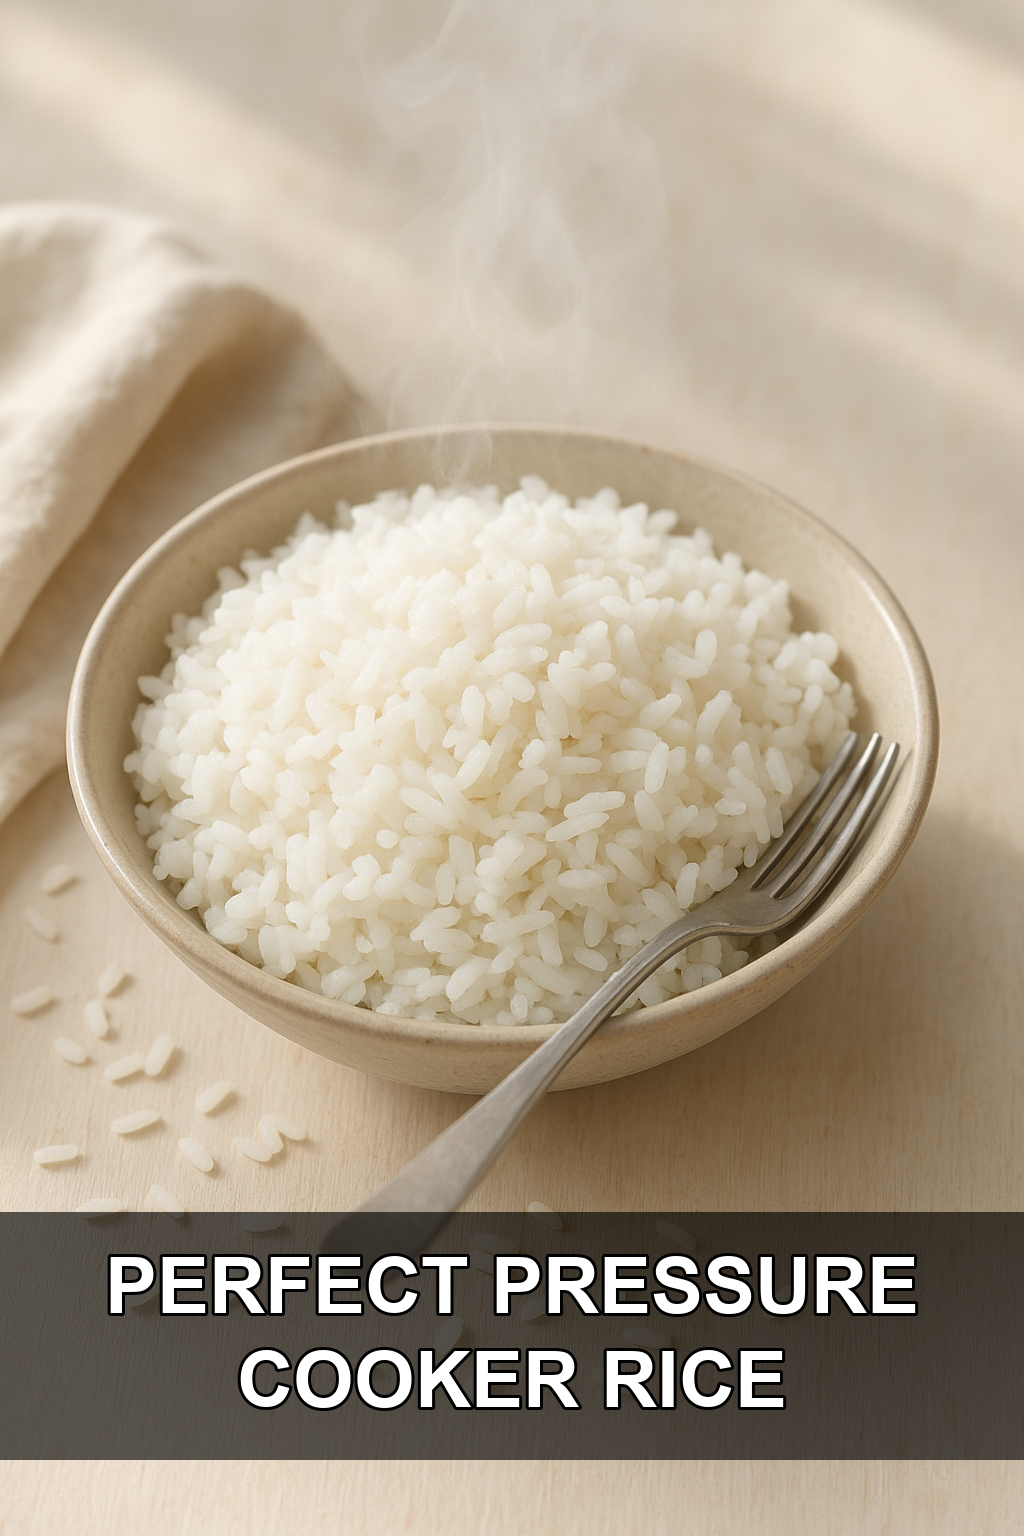
Pressure cooker rice is exactly what it sounds like: rice cooked under pressure in an electric or stovetop pressure cooker (like an Instant Pot) instead of simmered on the stove. The sealed environment traps steam and builds pressure, which cooks the rice faster and more evenly than traditional methods, while also virtually eliminating the risk of scorching or boiling over.
This method works beautifully for both white and brown rice, though each requires slightly different timing since brown rice has a tougher bran layer that takes longer to soften. Once you get the hang of the basic ratios and settings, you’ll wonder why you ever bothered watching a pot on the stove.
Tips for Cooking and Prepping
#1: Rinse white rice, skip it for brown
Rinsing white rice removes excess surface starch so the grains cook up fluffy instead of gummy or clumped together. Brown rice doesn’t need this step since its bran layer keeps the starch from causing the same stickiness.
#2: Keep your ratio exact
The 1:1 ratio of rice to water is what makes this method so reliable, so resist the urge to add extra water ‘just in case.’ Too much liquid leads to soggy, waterlogged rice even under pressure.
#3: Let the pot settle before sealing
Gently swiveling the inner pot helps the rice spread into an even layer, which promotes more consistent cooking throughout the batch. Uneven piles of rice can lead to some grains being undercooked while others turn mushy.
#4: Don’t skip the natural release
Letting the pressure release naturally for 10 minutes allows the rice to finish steaming gently and firm up before you open the lid. Releasing pressure too quickly can cause the rice to seize up or turn gummy from the sudden temperature change.
#5: Adjust brown rice timing to your texture preference
Twenty minutes gives you firmer, more separate grains, while 22 minutes yields a softer, slightly more tender bite. Try both and see which texture your household prefers.
Recipe Variations and Substitutes
This basic method is a blank canvas, so feel free to swap plain water for low-sodium chicken or vegetable broth for extra flavor, or stir in a bay leaf, a smashed garlic clove, or a splash of oil before cooking. You can also experiment with jasmine, basmati, or short-grain rice, though cooking times may need slight tweaks since grain size and starch content vary.
Serving Suggestions
Pressure cooker rice is the ultimate blank slate, perfect alongside stir-fries, curries, grilled chicken, or beans and roasted vegetables. Fluff it with a fork and top with a pat of butter, fresh herbs, or a squeeze of lime for an easy flavor boost.
Storing, Make-Ahead, and Freezing Tips
Cooked rice keeps well in an airtight container in the fridge for up to 5 days, making it a great meal-prep staple for the week ahead. It also freezes beautifully in individual portions for up to 3 months; just reheat with a splash of water in the microwave or on the stovetop until steaming hot throughout.
FAQs
Can I double this pressure cooker rice recipe?
Yes, as long as you don’t exceed your pressure cooker’s max fill line, you can double the rice, water, and salt while keeping the same cooking time and settings.
Why is my pressure cooker rice mushy?
Mushy rice usually means too much water was used, the rice wasn’t rinsed (for white rice), or the pressure was released too quickly instead of allowing the natural release time.
Do I need to adjust the water ratio for brown rice?
No, this recipe uses the same 1:1 ratio of rice to water for both white and brown rice; the difference is in the pressure setting and cook time, not the liquid amount.
Can I use this method in a stovetop pressure cooker instead of an electric one?
Absolutely, just bring the stovetop cooker up to the equivalent pressure setting and maintain the same cook times, then let it release naturally for 10 minutes before venting.
What if my pressure cooker doesn’t have a ‘Rice’ setting?
Simply use the manual or pressure cook function and set the timer to 15 minutes on low pressure for white rice, or 20 to 22 minutes on high pressure for brown rice.
Pressure Cooker Rice Recipe
Prep time: 5 min | Cook time: 25 min | Total time: 30 min | Servings: 8
Ingredients
- 2 cups rice (brown or white)
- 2 cups water
- 1/2 teaspoon salt
Instructions
- In a fine wire mesh colander, rinse the rice under cold running water for about 30 seconds, until the water is less cloudy (it won’t be quite clear). Drain off the excess water for a minute or so, until water is no longer dripping from the colander. (Note: If you’re using brown rice, you can skip this rinsing step.)
- Add the rice to the pressure cooker, along with the 2 cups of water and salt. Swivel the inner pot in the housing a little bit so that the rice settles into an even layer in the pot. Secure the lid with the release valve in its ‘Sealing’ position.
- If cooking white rice: Select the ‘Rice’ cooking program on its low pressure setting (if your pressure cooker doesn’t have high and low pressure settings, just use the default ‘rice’ setting). The pressure cooker will adjust the cooking time automatically, or for manual instructions, set the cooking time for 15 minutes on low pressure. If cooking brown rice: Select the ‘Multigrain,’ ‘Pressure Cook,’ or ‘Manual’ setting and set the cooking time for 20 minutes at high pressure for chewy, separate grains, or increase to 22 minutes for slightly softer rice.
- When the cooking program ends, let the pressure release naturally for 10 minutes, then move the pressure release valve to its ‘Venting’ position to release the remaining steam.
- Open the pot, fluff the rice with a fork, and serve. Enjoy!
For extra flavor, swap the water for chicken or vegetable broth, or add a smashed garlic clove and a splash of oil before cooking. Leftover rice keeps well refrigerated for up to 5 days or frozen for up to 3 months.
Leave a Reply
You must be logged in to post a comment.