
- What Is Sushi Rice?
- Tips for Cooking and Prepping
- Recipe Variations and Substitutes
- Serving Suggestions
- Storing and Make-Ahead Tips
- FAQs
- Perfect Sushi Rice Recipe
If you’ve ever wondered why homemade sushi never quite tastes like the restaurant version, the secret usually isn’t the fish—it’s the rice. This perfect sushi rice recipe walks you through washing, cooking, and seasoning your rice the traditional way so every grain turns out glossy, tender, and perfectly tangy.
What Is Sushi Rice?
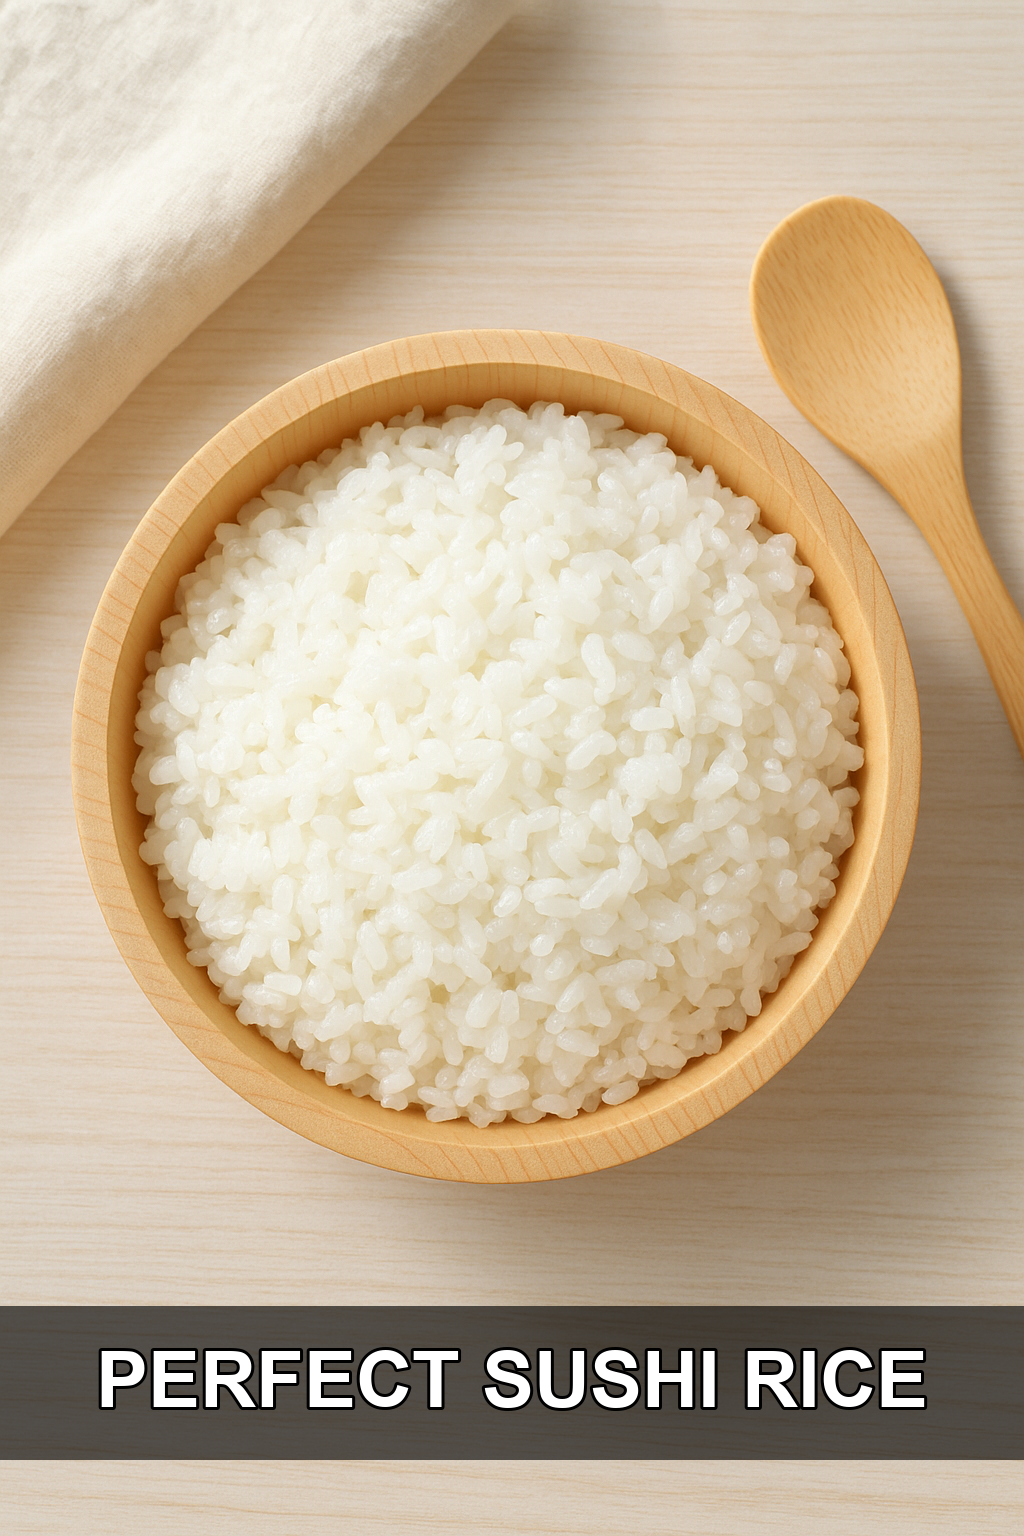
Sushi rice, known as shari or sushimeshi in Japanese, is short-grain rice that has been cooked and then seasoned with a mixture of rice vinegar, sugar, and salt. Unlike plain steamed rice, sushi rice has a slightly sticky texture that holds together well, along with a subtle sweet-tangy flavor that balances the richness of fish, the crunch of vegetables, and the umami of nori.
This rice is the true foundation of sushi—whether you’re rolling maki, shaping nigiri, or building a casual sushi bowl at home. Getting the texture and seasoning right makes all the difference between rice that falls apart or turns gluey and rice that’s shiny, fluffy, and full of flavor in every bite.
Tips for Cooking and Prepping
#1: Rinse until the water runs clear
Washing away excess surface starch is essential to prevent gummy, clumpy rice. Take your time gently rubbing the grains under cold water until the runoff is mostly clear.
#2: Don’t skip the soaking time
Letting the rinsed rice sit in water for at least 30 minutes before cooking allows the grains to fully hydrate, which leads to shinier, more evenly cooked rice.
#3: Use a wide, shallow container to cool it
A wooden sushi oke or any wide bowl gives the rice plenty of surface area to cool quickly and evenly, which helps achieve that classic glossy finish.
#4: Cut, don’t stir, when mixing in the vinegar
Use a slicing and folding motion with a rice paddle rather than stirring, so you coat every grain in seasoned vinegar without smashing or mashing the rice.
#5: Fan the rice as you mix
Blowing cool air over the rice while folding in the vinegar mixture speeds up evaporation and gives the rice its signature sheen while keeping the texture from turning mushy.
Recipe Variations and Substitutes
While traditional sushi rice sticks to rice vinegar, sugar, and salt, you can adjust the ratios slightly to suit your taste—less sugar for a more savory rice, or a splash more vinegar for extra tang. Brown short-grain rice can be substituted for a healthier twist, though it will require a longer cook time and a slightly different water ratio. Some home cooks also add a small piece of kombu (dried kelp) to the cooking water for a subtle umami boost.
Serving Suggestions
Perfect sushi rice is endlessly versatile: use it for classic maki rolls, hand-pressed nigiri, or a quick and colorful sushi bowl topped with avocado, cucumber, and your favorite protein. It also makes a fantastic base for spicy tuna bowls, poke-style dishes, or simply served alongside teriyaki chicken and pickled vegetables.
Storing and Make-Ahead Tips
Sushi rice is best enjoyed the same day it’s made, ideally while still slightly warm to room temperature, since refrigeration causes the grains to harden and lose their signature texture. If you need to prep ahead, cover the rice tightly with a damp towel or plastic wrap and store at room temperature for a few hours, then gently fluff before using.
FAQs
Can I make sushi rice without a rice cooker?
Yes, this recipe works well on the stovetop using a heavy-bottomed pot. Just be sure to bring the water to a boil, then reduce to low heat and let it simmer covered until the liquid is absorbed, followed by a resting period to finish steaming.
Why is my sushi rice mushy or gummy?
Mushy rice is usually the result of not rinsing off enough surface starch before cooking, using too much water, or over-mixing the rice once the vinegar is added. Rinsing thoroughly and using a gentle cutting motion when seasoning helps prevent this.
Can I use regular long-grain rice instead of short-grain?
Short-grain Japanese rice is recommended because its higher starch content gives sushi rice its signature sticky texture; long-grain rice won’t hold together the same way and isn’t ideal for rolls or nigiri.
How long can sushi rice sit out before using it?
Sushi rice can sit covered with a damp towel at room temperature for a few hours while you prepare your other ingredients, but it’s best used within the same day for optimal texture and food safety.
Do I really need to fan the rice while mixing in the vinegar?
Fanning isn’t strictly required, but it does help cool the rice faster and creates that glossy, professional-looking finish while preventing the rice from becoming overly sticky or mushy.
Perfect Sushi Rice Recipe
Prep time: 5 min | Cook time: 25 min | Total time: 30 min | Servings: 6
Ingredients
For the Rice
- 310 grams Japanese short-grain rice (2 cooker cups)
- 1 1/2 cups cold water
For the Seasoning
- 4 tablespoons rice vinegar
- 3 tablespoons granulated sugar
- 1 teaspoon salt
Instructions
- Put the Japanese short-grain rice in a sieve over a bowl and rinse it with cold tap water.
- Use your hands to gently rub the grains, removing excess starch from each one.
- When the water running off is mostly clear, drain the rice thoroughly.
- If using a rice cooker, add the washed rice to the cooker’s bowl and fill with cold water to just under the 2-cup line. If using the stovetop, add the washed rice to a small heavy-bottomed non-stick pot with 1 1/2 cups cold water and cover with a lid.
- Let the rice soak for at least 30 minutes before cooking to help the grains hydrate for shinier, better-textured rice.
- If using a rice cooker, turn it on and let it run its cycle. If cooking on the stovetop, bring the water to a boil over high heat, then reduce to low and set a timer for 15 minutes. Once no liquid remains, turn off the heat and let the rice steam, covered, for 10 minutes.
- While the rice cooks, combine the rice vinegar, sugar, and salt in a small bowl, microwaving briefly if needed to dissolve the sugar.
- Transfer the finished rice into a large bowl or wide wooden sushi oke to allow it to cool rapidly. Gently break up any clumps, then pour the vinegar mixture evenly over the hot rice.
- Using a rice paddle or flat wooden spoon, gently combine the rice and vinegar with a side-to-side cutting motion followed by folding, separating each grain without mashing them.
- While mixing, fan the rice with a fan or hairdryer set to cool to help it cool quickly and develop a glossy sheen without becoming mushy.
- The rice is ready when the surface is no longer wet or slippery and each grain looks shiny; it should be lukewarm, not hot.
- Mound the finished sushi rice and cover with a damp towel until you’re ready to use it.
For the best texture, use rice within a few hours of making it and avoid refrigerating, as cold temperatures make sushi rice hard and dry.
Leave a Reply
You must be logged in to post a comment.