
- What Is Sushi Rice?
- Tips for Cooking and Prepping
- Recipe Variations and Substitutes
- Serving Suggestions
- Storing and Make-Ahead Tips
- FAQs
- Perfect Sushi Rice Recipe
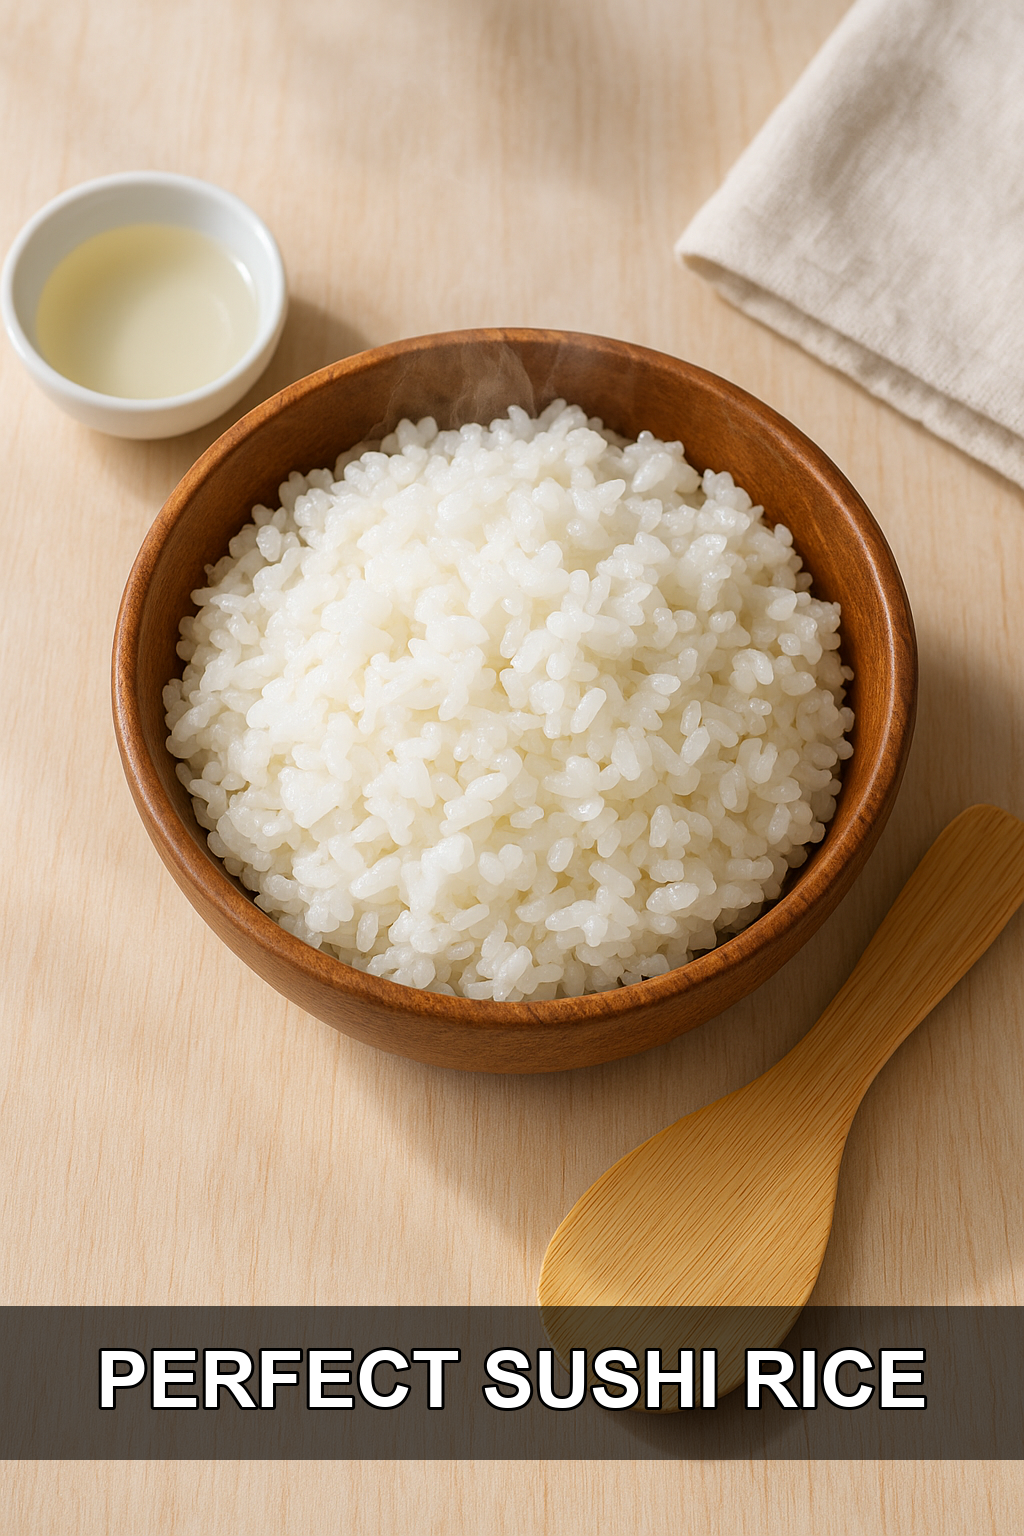
If you’ve ever wondered why homemade sushi never quite tastes like the sushi from your favorite restaurant, the answer usually comes down to the rice. Perfect sushi rice is fluffy, glossy, and just sticky enough to hold together, with a subtle tang that balances every bite. This simple stovetop method walks you through soaking, rinsing, cooking, and seasoning so you can nail it on the first try.
What Is Sushi Rice?
Sushi rice, also called shari or sumeshi in Japanese, is short-grain white rice that’s been cooked and then seasoned with a mixture of rice vinegar, sugar, and salt. Unlike regular steamed rice, sushi rice has a distinctive balance of sweet, salty, and tangy flavors, along with a slightly sticky texture that makes it easy to shape into rolls, nigiri, or bowls.
The rice itself is a specific short-grain variety prized for its high starch content, which gives it that signature tender, cohesive bite. Getting the water ratio, rinsing, and steaming steps right is what separates gluey, clumpy rice from light, fluffy grains that still hold their shape.
Tips for Cooking and Prepping
#1: Don’t skip the soak
Soaking the rice for 15 minutes before cooking allows the grains to absorb water evenly, which helps them cook through without turning mushy on the outside and hard in the center.
#2: Rinse until the water is truly clear
Rinsing washes away excess surface starch that causes overly gummy rice. It may take several rounds of rinsing and stirring before the water runs clear, so be patient here.
#3: Resist lifting the lid while cooking
Keeping the lid on during both the simmer and steam stages traps the steam that finishes cooking the rice evenly. Peeking lets heat and moisture escape, leading to unevenly cooked grains.
#4: Warm the seasoning before adding it
A quick spin in the microwave helps the sugar and salt fully dissolve into the vinegar so the seasoning coats the rice evenly instead of leaving gritty spots.
#5: Fold, don’t stir
Use a gentle folding motion with a spatula rather than stirring to coat the rice in seasoning without crushing the grains or turning it into paste.
#6: Spread it out to cool
Spreading the rice on a baking sheet helps it cool quickly and evaporates excess moisture, giving you that glossy, fluffy texture instead of a sticky clump.
Recipe Variations and Substitutes
While traditional sushi rice sticks to rice vinegar, sugar, and salt, you can experiment with rice wine vinegar blends, swap in a touch of honey for sugar, or add a small strip of kombu to the cooking water for extra umami. Brown short-grain rice can be used for a healthier twist, though it will need a longer cook time and a bit more water.
Serving Suggestions
Perfect sushi rice is the base for maki rolls, hand rolls, nigiri, and poke-style sushi bowls topped with fresh fish, avocado, and vegetables. It’s also delicious on its own as a simple rice salad tossed with cucumber, sesame seeds, and a drizzle of soy sauce.
Storing and Make-Ahead Tips
Sushi rice is best enjoyed fresh and at room temperature, but leftovers can be covered with a damp towel or plastic wrap and kept at room temperature for a few hours. For longer storage, refrigerate in an airtight container for up to a day and gently reheat with a splash of water to restore softness, since chilling can make the rice hard.
FAQs
Can I make sushi rice without a rice cooker?
Yes, this recipe is designed for the stovetop, using a simple boil-then-steam method that produces the same fluffy results as a rice cooker.
Why is my sushi rice mushy?
Mushy rice is usually caused by not rinsing off enough surface starch, using too much water, or lifting the lid during cooking, which lets steam escape unevenly.
What kind of rice vinegar should I use?
Use unseasoned rice vinegar rather than seasoned rice vinegar, since seasoned versions already contain added sugar and salt that can throw off the recipe’s balance.
Can I freeze sushi rice?
Sushi rice doesn’t freeze particularly well because the texture changes and becomes grainy once thawed, so it’s best made fresh or refrigerated for only a day.
Do I need to use short-grain rice specifically?
Yes, short-grain sushi rice has a higher starch content that gives it the sticky, cohesive texture needed to hold sushi shapes together, unlike long-grain varieties.
Perfect Sushi Rice Recipe
Prep time: 15 min | Cook time: 25 min | Total time: 40 min | Servings: 2
Ingredients
For the Rice
- 1 cup (200 g) sushi rice
- 1¼ cups (300 ml) water
For the Seasoning
- 2 Tbsp (30 ml) unseasoned rice vinegar
- 2 tsp (8 g) granulated sugar
- ¾ tsp (4 g) kosher salt (or ½ tsp table salt)
Instructions
- Soak: Place the rice in a bowl, cover with water, and let it soak for 15 minutes.
- Rinse: Drain the rice through a sieve, then rinse under cold water, stirring gently, until the water runs clear.
- Cook: Combine the rinsed rice and measured water in a pot. Bring to a boil over medium-high heat, then lower the heat, cover, and simmer for 15 minutes.
- Steam: Remove the pot from heat. Lay a clean towel over the pot, replace the lid, and let the rice steam for 10 minutes.
- Season: While the rice steams, mix the vinegar, sugar, and salt in a small bowl. Microwave for 30 seconds, stir, and heat for an additional 10 seconds if the sugar hasn’t fully dissolved.
- Cool & Fold: Spread the cooked rice onto a baking sheet. Drizzle the seasoning evenly over the rice, then fold gently with a spatula until every grain is coated and glossy.
- Keep Moist: Cover the seasoned rice with a damp towel until you’re ready to use it for rolls, bowls, or nigiri.
For the best texture, use the rice within a few hours of making it and keep it covered with a damp towel so it doesn’t dry out or form a crust.
Leave a Reply
You must be logged in to post a comment.