
- What Is No Bake Pumpkin Pie?
- Tips for Cooking and Prepping
- Recipe Variations and Substitutes
- Serving Suggestions
- Storing, Make-Ahead, and Freezing Tips
- FAQs
- No Bake Pumpkin Pie Recipe
If you love the flavor of pumpkin pie but dread turning on the oven, this no bake pumpkin pie is about to become your new favorite fall tradition. It’s rich, creamy, perfectly spiced, and sets up in the fridge while you go about your day. Plus, it’s low carb friendly, so everyone at the table can dig in.
What Is No Bake Pumpkin Pie?
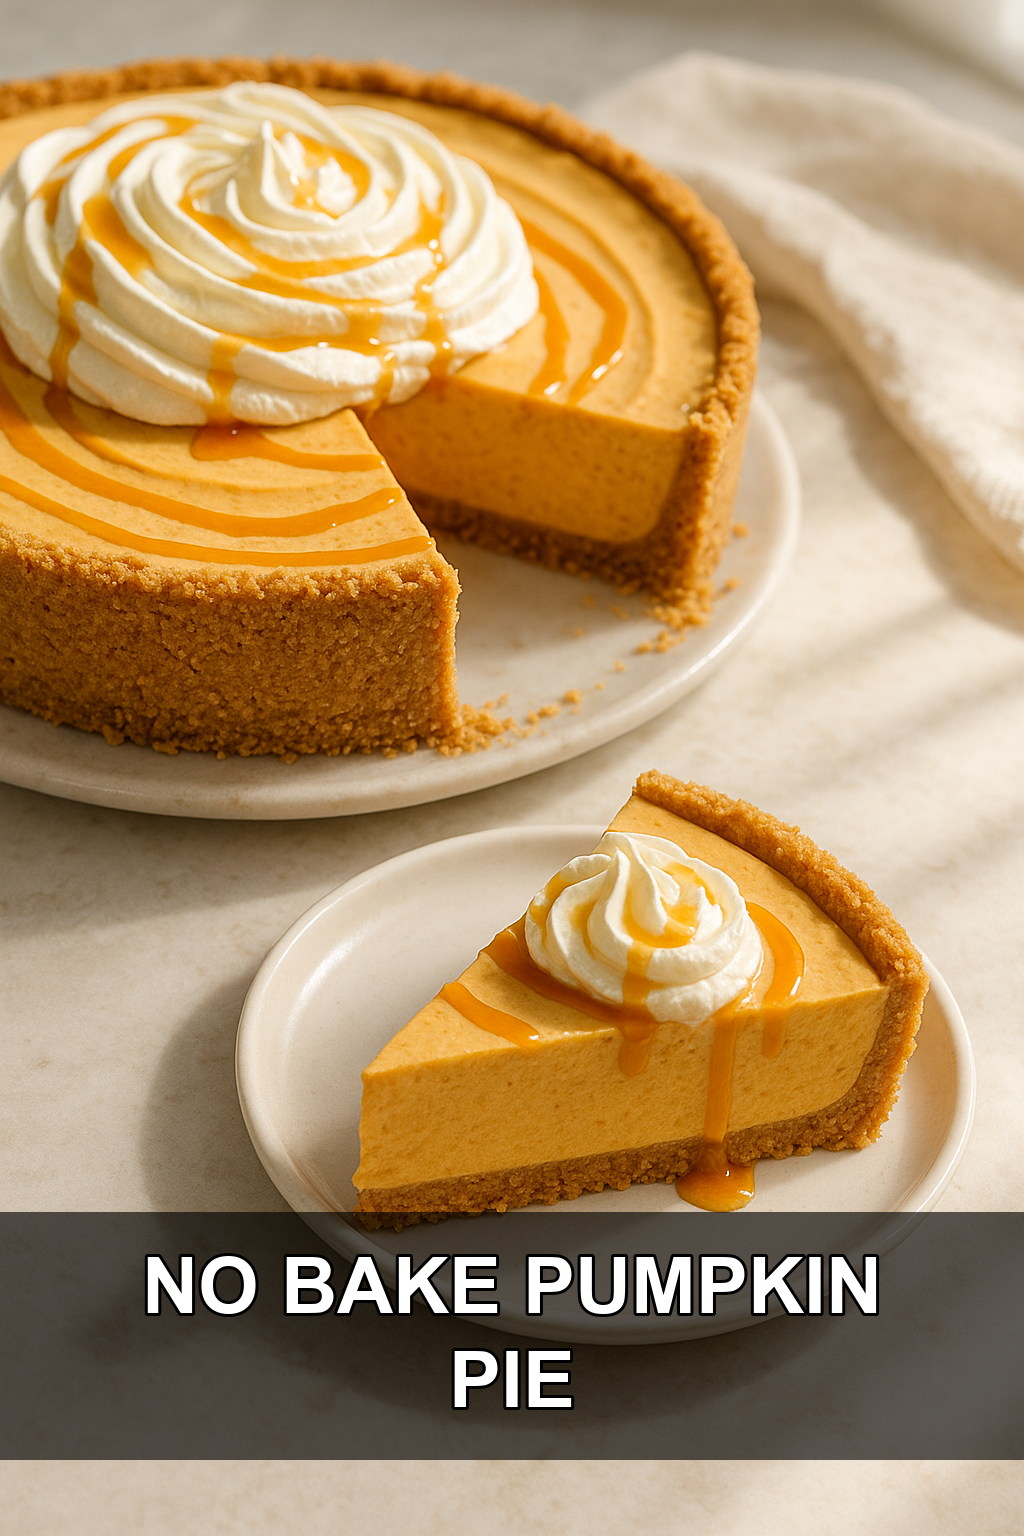
No bake pumpkin pie is exactly what it sounds like: all the cozy, spiced flavor of a traditional pumpkin pie, but with a filling that sets in the refrigerator instead of baking in the oven. Instead of eggs and a custard base that needs heat to firm up, this version relies on whipped cream, cream cheese, and a bit of gelatin to create a light, mousse-like texture that still slices beautifully.
The result is a dessert that tastes just as pumpkin-spiced and satisfying as the classic, but with a cooler, fluffier bite. It’s especially popular during the holidays when oven space is precious, or in warmer climates where baking a pie feels like the last thing you want to do.
Tips for Cooking and Prepping
#1: Whip the cream to stiff peaks first
Beat the heavy cream until it’s genuinely thick before adding the vanilla and xanthan gum. This gives the filling its light, airy structure once everything is folded together.
#2: Get the cream cheese completely smooth
Beat the softened cream cheese until there are zero lumps before adding the pumpkin and spices. Lumps in cream cheese are nearly impossible to break up once the pumpkin and gelatin are mixed in.
#3: Bloom your gelatin properly
Let the gelatin sit in the cool water for a few minutes before adding hot water. This blooming step is what allows the filling to set up firm enough to slice.
#4: Fold, don’t overmix, the whipped cream
Once you add the whipped cream to the pumpkin mixture, fold gently or use slow pulses. Overmixing can deflate the cream and leave you with a denser, less fluffy pie.
#5: Taste before you pour
Give the filling a taste before it goes into the crust and adjust the sweetener if needed. It’s much easier to add more sweetness now than after the pie has set.
#6: Watch for the ‘cooling effect’
Some sugar-free sweeteners can create a cooling sensation on the tongue if overused. Add extra sweetener gradually and taste as you go to avoid that effect.
Recipe Variations and Substitutes
This pie is easy to customize to fit what you have on hand or your dietary preferences. Swap the crust for a graham cracker, gingersnap, or nut-based crust depending on your taste and carb goals. If you don’t have a low carb sweetener, regular powdered sugar can be used in the same amounts for a non-keto version. You can also swap Swerve for another powdered sweetener like allulose or monk fruit blend, adjusting slightly to taste since sweetness levels vary.
Serving Suggestions
This pie is rich and creamy, so a little goes a long way. Top slices with a dollop of whipped cream, a drizzle of homemade or sugar-free caramel sauce, and a light dusting of extra pumpkin pie spice or cinnamon for a beautiful finish. It pairs wonderfully with a hot cup of coffee or spiced tea, making it a perfect addition to a holiday dessert table alongside other fall favorites.
Storing, Make-Ahead, and Freezing Tips
Because this pie needs time to chill and set, it’s actually best made a day ahead of when you plan to serve it. Store leftovers covered in the refrigerator for up to 4-5 days. While freezing is possible, the texture may become slightly grainy once thawed, so refrigerating is the recommended method for the best texture and flavor.
FAQs
How long does no bake pumpkin pie need to set?
Plan for at least 4 hours in the refrigerator, though overnight is ideal. The gelatin needs time to fully firm up so the pie slices cleanly.
Can I make this pie ahead of time?
Yes, this pie is actually a great make-ahead dessert since it needs to chill anyway. You can prepare it up to a day or two in advance and keep it covered in the fridge until you’re ready to serve.
Can I use a package of Knox gelatin instead of THM gelatin?
Absolutely, a standard packet of Knox unflavored gelatin works just as well. Just be sure to bloom it in the cool water first before adding the hot water.
Why is my filling not setting up firm?
This is usually caused by gelatin that wasn’t bloomed long enough, or hot water that wasn’t hot enough to fully activate it. Make sure the gelatin mixture is smooth and slightly warm before folding it into the pumpkin mixture.
Can I make this pie without xanthan gum?
Xanthan gum helps stabilize the whipped cream and gives the filling extra body, but you can omit it if you don’t have any on hand. The pie may be slightly softer, so make sure your gelatin is well incorporated to help it hold its shape.
No Bake Pumpkin Pie Recipe
Prep time: 25 min | Cook time: 0 min | Total time: 25 min | Servings: 8
Ingredients
For the Whipped Cream
- 1 cup heavy cream
- 1/4 cup powdered sweetener that measures like sugar (such as Swerve)
- 1 teaspoon vanilla
- 1/4 teaspoon xanthan gum
For the Pumpkin Filling
- 8 oz cream cheese, softened
- 1/2 cup powdered sweetener, same as above
- 1 teaspoon vanilla
- 15 oz can plain pumpkin (not pumpkin pie filling)
- 1 1/2 teaspoons pumpkin pie spice
For the Gelatin
- 2 tablespoons cool water
- 1 tablespoon gelatin (THM brand or a packet of Knox gelatin)
- 2 tablespoons hot water
For Assembly and Topping
- 1 prepared pie crust of choice
- Homemade caramel sauce, for topping
- Canned whipped cream, for topping
Instructions
- In a mixing bowl, beat the heavy cream until it becomes thick. Once thick, add in the vanilla and xanthan gum, then continue beating until it is very thick.
- While the cream is whipping, put the 2 tablespoons of cool water into a bowl (a measuring cup works well). Add the gelatin, stir, and let it sit for a few minutes to bloom.
- Once the cream is whipped, scrape it into a separate bowl and set aside.
- Add the softened cream cheese to the now-empty mixing bowl (no need to wash it). Beat until completely smooth with no lumps remaining.
- Add the pumpkin pie spice, sweetener, vanilla, and canned pumpkin to the cream cheese. Beat until fully combined.
- While mixing, add the 2 tablespoons of hot water to the bloomed gelatin and stir for a few seconds. Add the gelatin mixture into the pumpkin mixture and mix until combined.
- Add the whipped cream to the pumpkin mixture. Carefully fold it in, or use slow pulses with the paddle attachment, until fully combined. Taste and add more sweetener if needed, adjusting gradually to avoid a cooling effect.
- Pour the finished pie filling into your prepared pie crust.
- Refrigerate the pie until fully set and ready to serve, at least a few hours or overnight for best results.
- Top with homemade caramel sauce and canned whipped cream before serving.
For the best texture, make sure your cream cheese is fully softened and lump-free before combining with the pumpkin. This pie tastes even better the next day, so don’t hesitate to make it a day ahead.
Leave a Reply
You must be logged in to post a comment.