
- What Is Fried Chicken?
- Tips for Cooking and Prepping
- Recipe Variations and Substitutes
- Serving Suggestions
- Storing, Make-Ahead, and Freezing Tips
- FAQs
- Classic Homemade Fried Chicken Recipe
There’s nothing quite like biting into a piece of chicken with a shatteringly crisp crust and juicy, tender meat underneath. This classic fried chicken recipe relies on a long buttermilk soak and a well-seasoned flour dredge to deliver that irresistible flavor and crunch you crave, all from the comfort of your own kitchen.
What Is Fried Chicken?
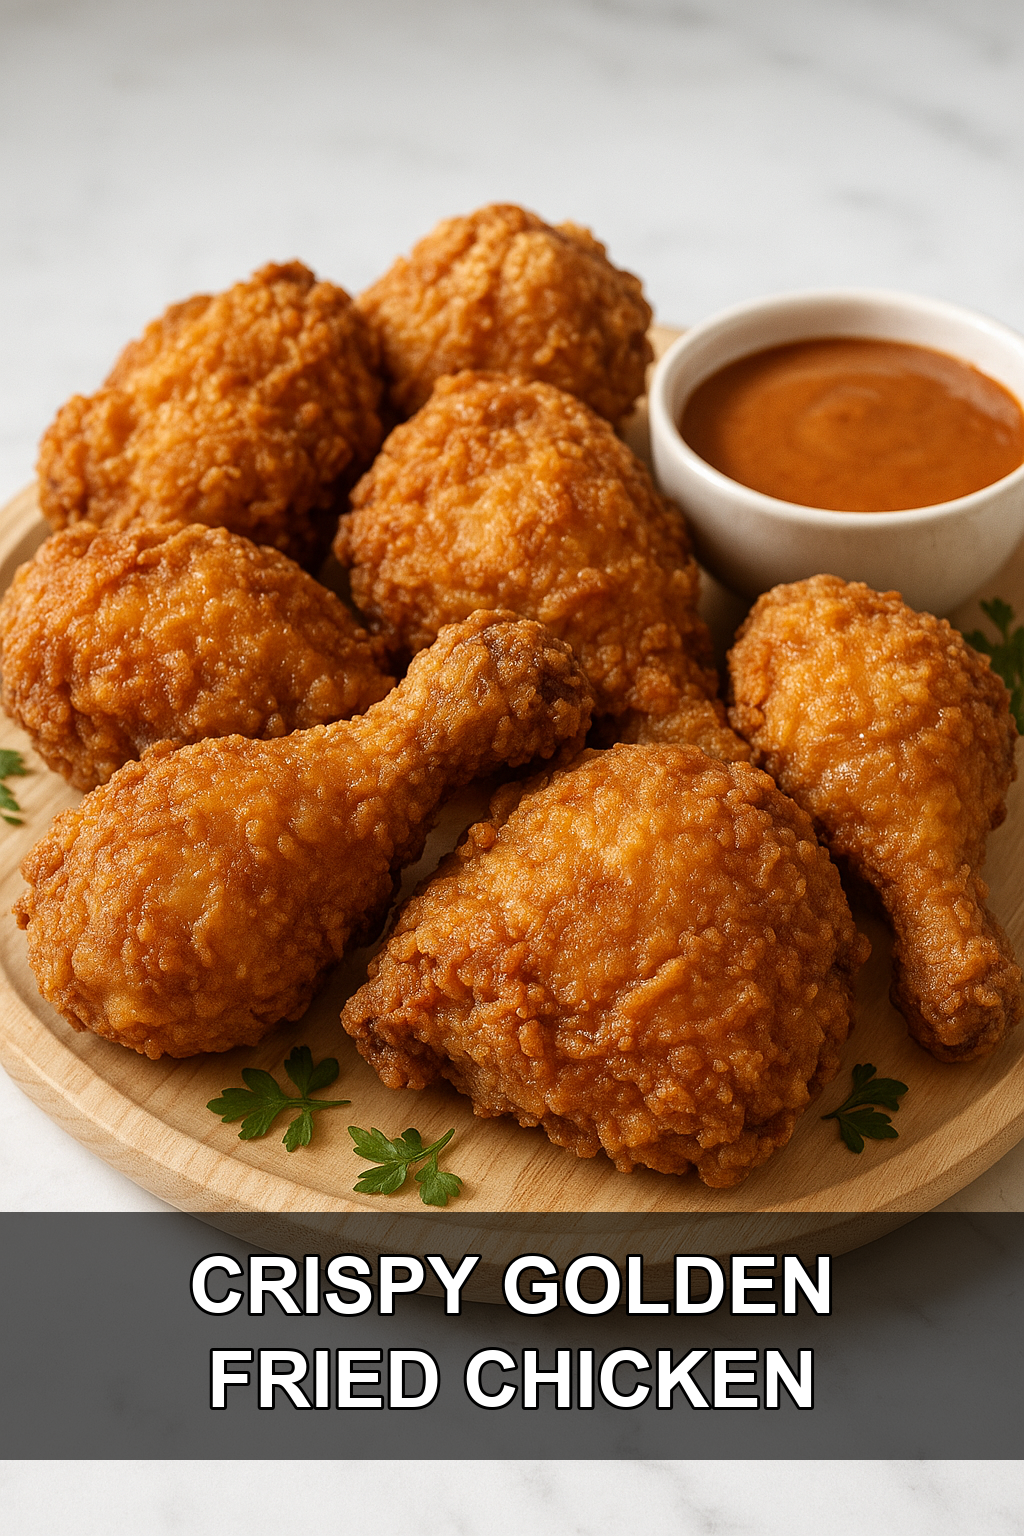
Fried chicken is a beloved comfort food made by coating chicken pieces in a seasoned flour mixture and cooking them in hot oil until the exterior turns golden and crackling while the inside stays juicy. It has deep roots in Southern American cooking, though variations of fried chicken exist in cuisines around the world, each with its own take on brining, seasoning, and frying technique.
What sets truly great fried chicken apart is patience: a proper buttermilk marinade tenderizes the meat and adds tang, while a rest period after dredging helps the coating adhere so it doesn’t flake off in the fryer. The result is a crust with real texture and depth, not just a thin, greasy shell.
Tips for Cooking and Prepping
#1: Don’t skip the buttermilk soak
Letting the chicken sit in buttermilk and egg for at least 4 hours, or ideally overnight, tenderizes the meat and adds moisture that carries through the frying process.
#2: Dry the chicken before marinating, not after
Pat the raw chicken dry with paper towels before it goes into the buttermilk, but let excess buttermilk drip off naturally before dredging so the flour has something to cling to.
#3: Let the dredged chicken rest
Resting the flour-coated chicken on a wire rack for 15-20 minutes before frying allows the coating to hydrate and bond to the skin, which prevents it from sliding off in the oil.
#4: Use a thermometer for the oil
Keeping the oil steady between 300-325 degrees F is the difference between a crisp, cooked-through piece of chicken and one that’s greasy or burnt on the outside while raw inside.
#5: Fry in small batches
Crowding the pot drops the oil temperature fast, which leads to soggy, oily chicken instead of a crisp crust, so fry only 2-3 pieces at a time.
#6: Rest the chicken after frying
Letting the fried chicken sit on a wire rack for a few minutes before serving allows the juices to redistribute so every bite stays juicy.
Recipe Variations and Substitutes
You can easily swap buttermilk for a quick DIY version using milk and lemon juice, or add hot sauce to the marinade for a spicier kick. For extra crunch, try adding a bit of cornstarch to the flour mixture, and feel free to experiment with cayenne pepper or smoked paprika for a different flavor profile.
Serving Suggestions
Fried chicken pairs beautifully with classic Southern sides like creamy mashed potatoes, coleslaw, cornbread, or buttermilk biscuits. It’s also fantastic served alongside a simple green salad or waffles with maple syrup for a sweet-and-savory brunch spin.
Storing, Make-Ahead, and Freezing Tips
Leftover fried chicken keeps well in the refrigerator for up to 4 days when stored in an airtight container. To freeze, cool completely and freeze in a single layer before transferring to a freezer bag for up to 3 months; reheat in the oven to restore crispiness rather than using the microwave.
FAQs
Why is my fried chicken not crispy?
This usually happens when the oil temperature is too low, the pot is overcrowded, or the coating wasn’t given time to rest before frying. Stick to 300-325 degrees F, fry in small batches, and let the dredged chicken sit for 15-20 minutes before it hits the oil.
Can I use boneless chicken for this recipe?
Yes, though bone-in, skin-on pieces are recommended for the juiciest results and classic flavor. If using boneless pieces, reduce the frying time slightly and check the internal temperature earlier since they cook faster.
How long should I marinate the chicken in buttermilk?
At minimum, marinate for 4 hours, but overnight (up to about 21 hours) gives the best flavor and tenderness. The longer soak allows the buttermilk’s acidity to work into the meat for extra juiciness.
What oil is best for frying chicken?
Vegetable oil and peanut oil are both great choices because they have high smoke points and neutral flavors that let the chicken’s seasoning shine. Avoid oils with low smoke points, like olive oil, since they can burn before the chicken cooks through.
How do I know when the chicken is fully cooked?
The most reliable method is checking with a meat thermometer inserted into the thickest part of the chicken, away from the bone; it should read 165 degrees F. Visually, the crust should be a deep golden brown and the juices should run clear.
Classic Homemade Fried Chicken Recipe
Prep time: 1260 min | Cook time: 30 min | Total time: 1290 min | Servings: 4
Ingredients
For the Chicken and Marinade
- 4-6 pieces bone-in, skin-on chicken (a mix of thighs and drumsticks recommended)
- 1 cup buttermilk (or 1 cup milk with 1 tablespoon lemon juice, let sit for 5 minutes)
- 1 large egg
For the Seasoned Flour Dredge
- 2 cups all-purpose flour
- 2 teaspoons salt
- 1 teaspoon black pepper
- 1 teaspoon paprika
- 1/2 teaspoon garlic powder
- 1/2 teaspoon onion powder
For Frying
- Vegetable oil or peanut oil, for frying (about 4-6 cups)
Instructions
- Prep the Chicken: Pat the chicken pieces thoroughly dry with paper towels; this is crucial for crispiness. In a large bowl, whisk together the buttermilk and egg. Add the chicken pieces, ensuring they are fully submerged. Cover and refrigerate for at least 4 hours, or preferably overnight, to tenderize the chicken and infuse it with moisture.
- Prepare the Dredging Mixture: In a shallow dish or large resealable bag, combine the flour, salt, black pepper, paprika, garlic powder, and onion powder. Mix well so the seasonings are evenly distributed.
- Dredge the Chicken: Remove the chicken from the buttermilk mixture, letting excess liquid drip off naturally without patting it dry. Immediately dredge each piece liberally in the seasoned flour, pressing firmly so the flour adheres to all surfaces. Place the dredged chicken on a wire rack set over a baking sheet and let it rest at room temperature for 15-20 minutes to help the coating set.
- Heat the Oil: Pour enough vegetable or peanut oil into a large, heavy-bottomed pot or Dutch oven to reach a depth of 2-3 inches. Heat the oil over medium-high heat until it reaches 325 degrees F (160 degrees C), using a thermometer to monitor the temperature closely.
- Fry the Chicken: Carefully lower 2-3 pieces of chicken into the hot oil, avoiding overcrowding the pot. Fry for 6-8 minutes per side, turning occasionally, until golden brown and cooked through, with an internal temperature of 165 degrees F (74 degrees C). Adjust the heat as needed to keep the oil between 300-325 degrees F.
- Drain and Rest: Use tongs to remove the chicken from the oil and transfer it to a clean wire rack set over paper towels or a baking sheet to drain excess oil. Sprinkle with a pinch of extra salt if desired, then let rest for a few minutes before serving. Repeat with the remaining chicken, allowing the oil to return to temperature between batches.
For extra-crunchy results, try double-dredging: dip the chicken back into the buttermilk after the first flour coat, then dredge a second time before frying.
Leave a Reply
You must be logged in to post a comment.