
- What Is Extra Crispy Fried Chicken?
- Tips for Cooking and Prepping
- Recipe Variations and Substitutes
- Serving Suggestions
- Storing, Make-Ahead, and Freezing Tips
- FAQs
- Fried Chicken Recipe: The Secret to Extra Crispy Chicken
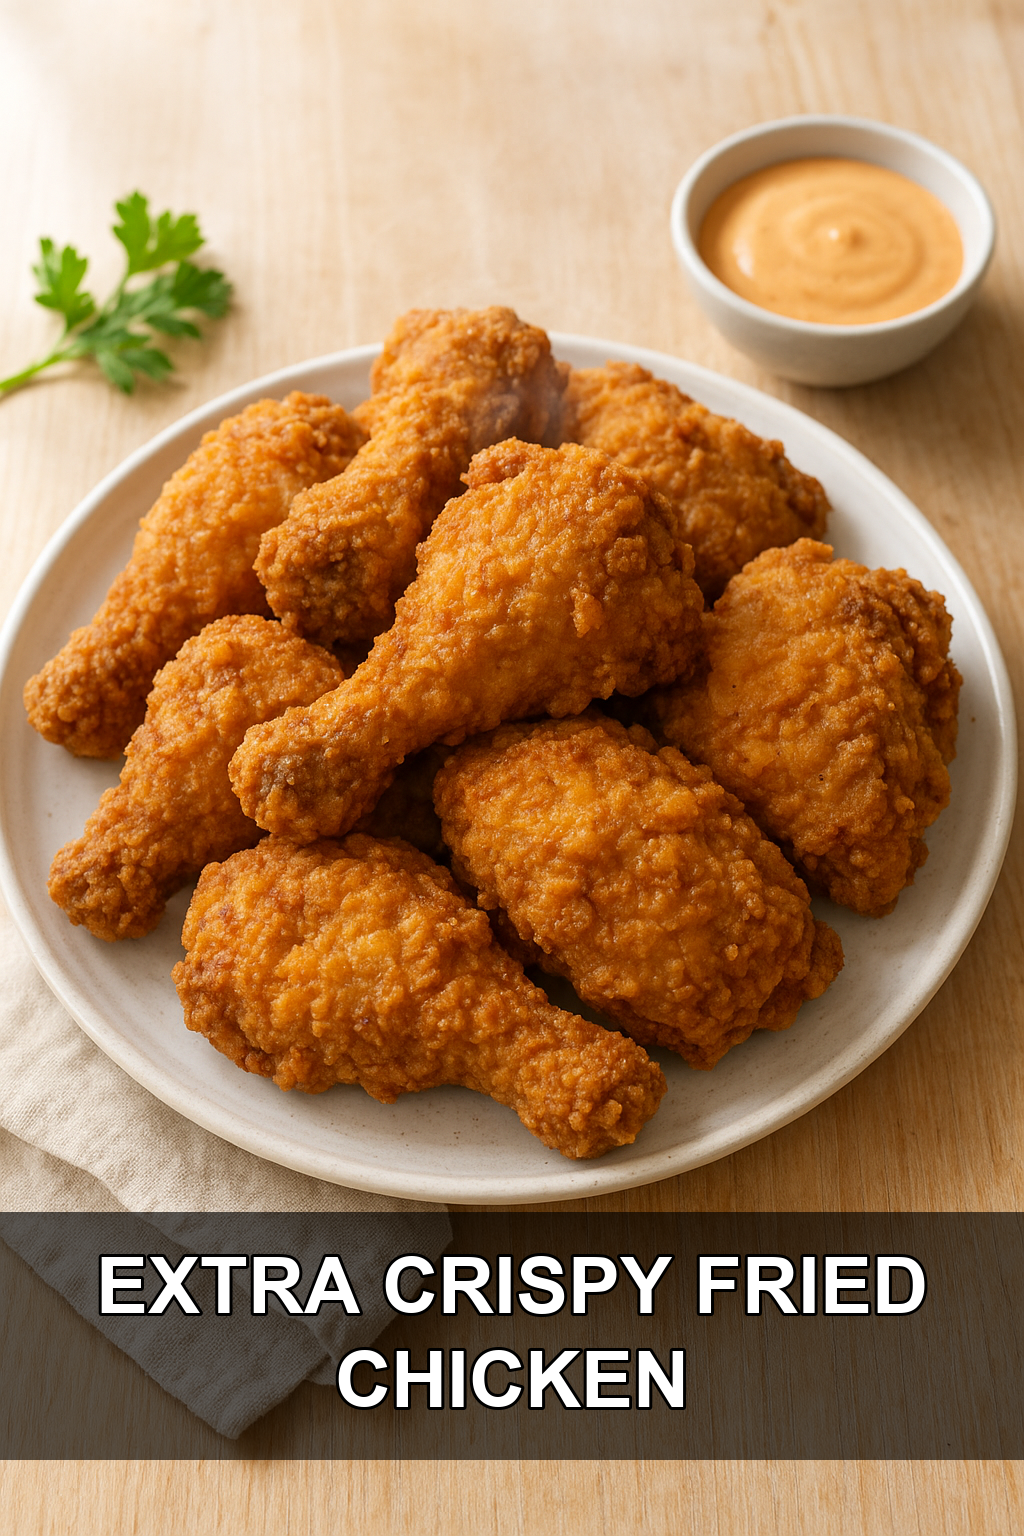
There’s fried chicken, and then there’s extra crispy, shatter-when-you-bite-it fried chicken — and today we’re making the second kind. This recipe uses a simple brine, a two-step dredge, and a genius double-fry trick to lock in juicy meat under a craggy, crunchy crust. Once you try this method, you’ll never go back to plain flour-and-fry chicken again.
What Is Extra Crispy Fried Chicken?
Fried chicken is one of America’s most beloved comfort foods, with roots tracing back to Scottish frying techniques and West African seasoning traditions that merged in Southern kitchens. The result over generations has been countless regional styles, from spicy Nashville hot chicken to buttermilk-soaked Southern classics.
Tips for Cooking and Prepping
#1: Don’t skip the brine
Soaking the chicken in a salted, garlic-and-bay-leaf brine for at least 4 hours seasons the meat all the way through and keeps it juicy, not just surface-seasoned.
#2: Let the chicken come to room temperature before frying
Pulling the chicken out of the fridge an hour before frying prevents the oil temperature from crashing when it hits the pot, which means better browning and even cooking.
#3: Dry the chicken thoroughly after brining
Patting the chicken very dry with paper towels before dredging helps the dry mix actually stick instead of sliding off into clumps.
#4: Texture the dry mix on purpose
Rubbing a little brine or water into the flour with your fingers creates small clumps that fry up into those craggy, extra-crunchy ‘nooks and crannies’ everyone loves.
#5: Press, don’t just dip
After dunking the chicken in the wet batter and returning it to the dry mix, really press and squeeze the flour onto the chicken so the coating has something to grip onto.
#6: Fry twice for maximum crunch
The second one-minute fry after all the pieces are cooked is the real secret weapon — it re-crisps the crust and gives it that signature shatter.
Recipe Variations and Substitutes
Want it spicier? Bump the cayenne pepper up to a full 4 teaspoons in the dry mix, or drizzle finished pieces with hot honey. Prefer boneless chicken thighs or breasts? They work great here too — just cut the frying time down to 6-10 minutes so the meat doesn’t dry out. You can also swap the potato starch for cornstarch if that’s what you have on hand; it still helps create that light, crispy crust.
Serving Suggestions
Serve this fried chicken hot and fresh alongside classic Southern sides like creamy coleslaw, buttery cornbread, mashed potatoes, or mac and cheese. It’s also fantastic piled onto a biscuit sandwich with hot sauce and pickles, or served over waffles with maple syrup for a sweet-and-savory brunch spread.
Storing, Make-Ahead, and Freezing Tips
The brine step can be done up to a day ahead, which makes this a great recipe to prep the night before a party. Leftover fried chicken keeps well in the fridge for up to 4 days — reheat it in the oven or air fryer to bring the crust back to life rather than using the microwave, which will make it soggy. To freeze, cool completely, then store in a freezer-safe bag for up to 3 months and reheat from frozen in a 375°F oven until hot and crispy.
FAQs
Why is my fried chicken not crispy?
This usually happens when the chicken isn’t dried well enough before dredging, the oil temperature is too low, or the batter isn’t pressed firmly onto the chicken. The double-fry step at the end is also key for locking in extra crunch.
What oil temperature is best for frying chicken?
Aim for 350°F (177°C). If the oil is too cool the chicken absorbs excess grease and turns soggy, and if it’s too hot the outside burns before the inside cooks through.
Can I use chicken breasts instead of legs and thighs?
Yes, though bone-in dark meat tends to stay juicier and more forgiving during frying. If using boneless chicken, reduce the fry time to about 6-10 minutes.
Why do you fry the chicken twice?
The second, quick one-minute fry re-crisps the crust after all the pieces have rested, giving you that extra-crunchy, shatteringly crisp texture that makes this recipe stand out.
Do I have to use potato starch?
Potato starch helps create an especially light and crispy crust, but cornstarch is a fine substitute if that’s what you have in your pantry.
Fried Chicken Recipe: The Secret to Extra Crispy Chicken
Prep time: 40 min | Cook time: 45 min | Total time: 85 min | Servings: 8
Ingredients
For the Brine
- 4 chicken legs, separated into drums and thighs to make 8 pieces
- 3 tablespoons salt
- 8 cups water
- 2-3 cloves garlic
- 2-3 bay leaves
For the Dry Mix
- 1/2 cup potato starch
- 2 cups all-purpose flour
- 1 1/2 teaspoon black pepper
- 2 teaspoon onion powder
- 2 teaspoon garlic powder (not garlic salt)
- 2 teaspoon salt
- 4 teaspoon cayenne pepper (optional, start with 1 teaspoon for less spicy chicken)
For the Wet Batter
- 1/2 cup reserved ‘Dry Mix’
- 1/2 cup white vinegar
- 3/4 cup cold water (or cold carbonated water)
Instructions
- In a large bowl, combine all the brine ingredients: salt, water, garlic cloves, and bay leaves.
- If using chicken legs, separate the drums from the thighs so you have 8 pieces of chicken.
- Add the chicken to the brine and refrigerate for a minimum of 4 hours. Remove it 1 hour before frying so it can come to room temperature; this helps it cook through evenly and keeps the oil temperature from dropping too much when frying.
- In a large bowl, combine all the Dry Mix ingredients. Reserve 1/2 cup of the mix to make the Wet Batter, and set the rest aside.
- Optional: for a more textured crust, work 2-3 tablespoons of brine or water into the reserved dry mix with your fingers until well combined, creating a slightly clumpy texture.
- In another bowl, combine the reserved 1/2 cup of dry mix with the white vinegar and cold water, mixing until fully combined. Set this Wet Batter aside.
- When ready to fry, remove the chicken from the brine and pat it very dry with paper towels.
- Working one piece at a time, coat the chicken lightly in the dry mix, shaking off excess for a light initial dusting.
- Re-mix the wet batter with a fork if it has separated, then quickly dunk the floured chicken piece into the wet batter.
- Immediately return the wet chicken to the dry mix, pressing and squeezing the mix firmly onto the chicken to fully coat it.
- Remove the chicken and vigorously shake off excess flour to create crispy, craggy texture on the surface.
- Place the coated chicken in a single layer on a plate and repeat with all remaining pieces.
- Heat oil in a cast iron pan or deep fryer to 350°F (177°C); test readiness by dipping a wooden chopstick into the oil to see if it bubbles.
- Carefully add the chicken to the hot oil in small batches, being careful not to overcrowd the pan so the oil temperature stays steady.
- Fry the chicken for 18-20 minutes (or 6-10 minutes if using boneless chicken), until deeply golden and cooked through.
- Once all the chicken has been fried once, return it to the hot oil for a second fry of about 1 minute to make it extra crispy.
- Let the chicken rest on a wire rack, newspaper, or parchment paper for a few minutes before serving. Enjoy!
For the crispiest results, use cold carbonated water in the wet batter and don’t skip the double-fry step — it’s what really sets this crust apart from standard fried chicken.
Leave a Reply
You must be logged in to post a comment.