
- What Is Pumpkin Bread?
- Tips for Cooking and Prepping
- Recipe Variations and Substitutes
- Serving Suggestions
- Storing and Freezing Tips
- FAQs
- Classic Pumpkin Bread Recipe
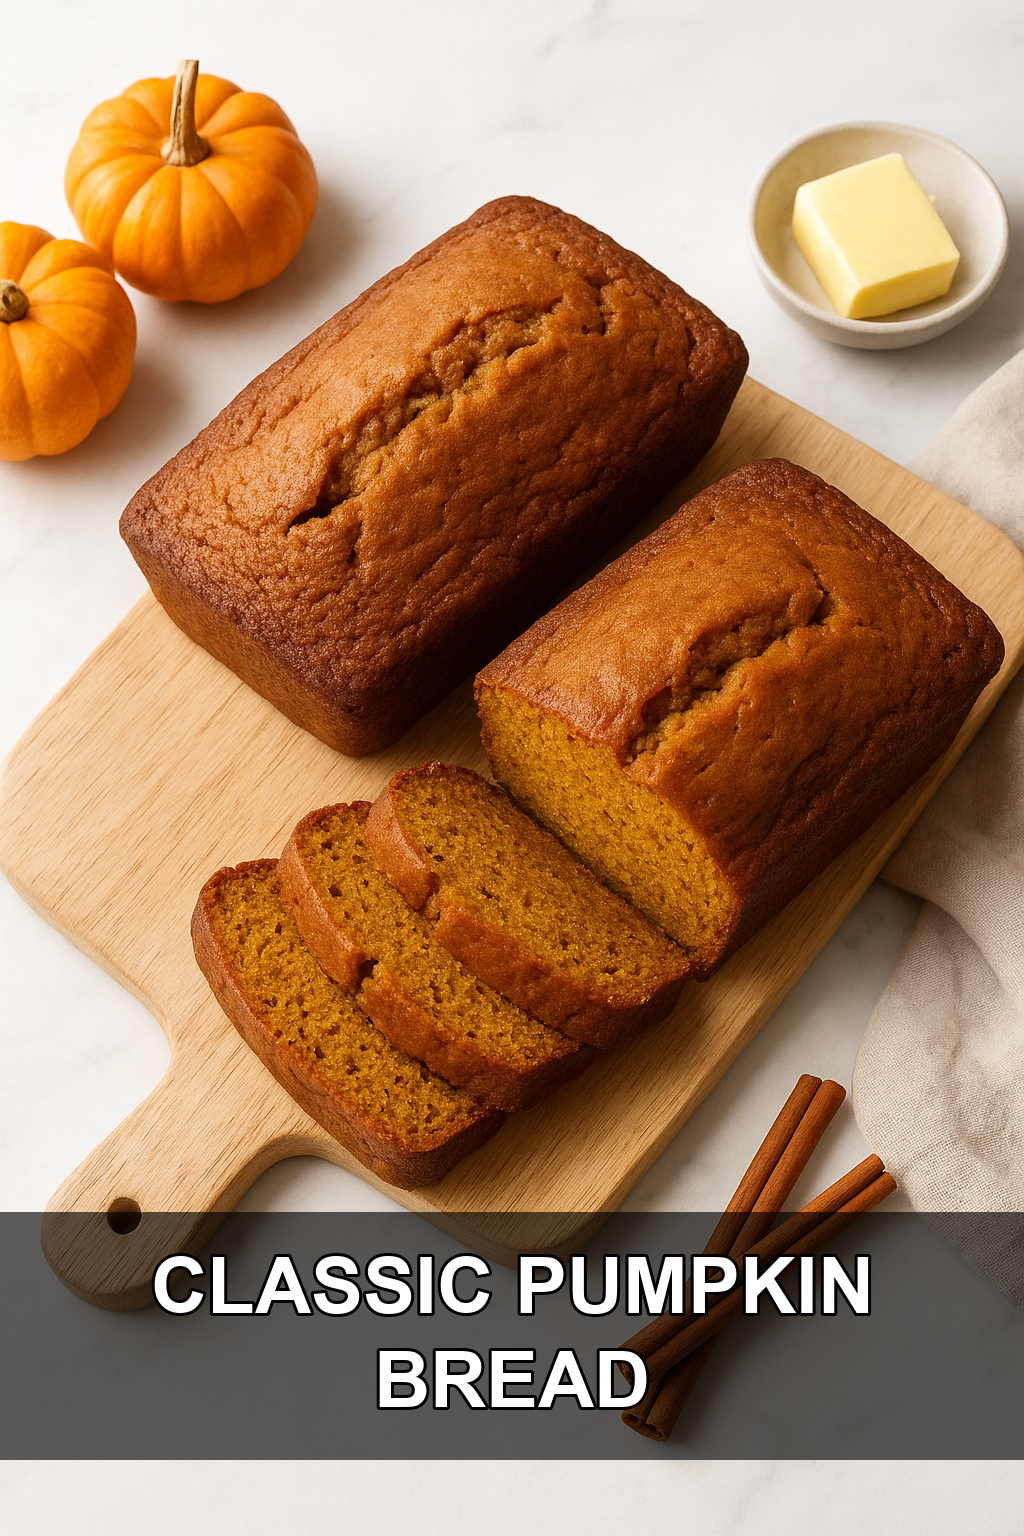
There’s a reason pumpkin bread shows up on kitchen counters the moment the weather turns cool. This version is deeply spiced, wonderfully moist, and made with real canned pumpkin, so every slice tastes like fall in the best possible way.
What Is Pumpkin Bread?
Pumpkin bread is a dense, cake-like quick bread made with pumpkin puree, warm baking spices, butter, sugar, and eggs. Unlike yeasted bread, it relies on baking soda and baking powder for lift, which means no rising time and a much simpler process from bowl to oven.
It sits somewhere between a dessert and a breakfast bread, sturdy enough to slice and hold in your hand, sweet enough to feel like a treat, yet not overly rich thanks to the pumpkin keeping things moist without excess fat. Pumpkin bread has become a cornerstone of autumn baking, popping up everywhere from coffee shops to holiday bake sales, but a homemade loaf is almost always better than anything store-bought.
Tips for Cooking and Prepping
#1: Measure your flour correctly
Spoon the flour into the measuring cup and level it off with a knife rather than scooping directly from the bag. Scooping packs in extra flour, which can leave your loaves dense or dry.
#2: Use plain pumpkin puree, not pie filling
Make sure the can says ‘100% pure pumpkin’ and not ‘pumpkin pie filling.’ Pie filling already contains added sugar and spices that will throw off the recipe’s balance.
#3: Don’t worry about a curdled-looking batter
When you beat the pumpkin into the butter, sugar, and egg mixture, it can look grainy or slightly curdled. This is completely normal and will smooth out once the flour is mixed in.
#4: Grease and flour the pans thoroughly
This bread is moist and can stick easily, so generously coat every corner of your loaf pans with butter and flour, or use a baking spray with flour built in for the easiest release.
#5: Test doneness with a cake tester, not just time
Ovens vary, so start checking around the 65-minute mark and insert a cake tester or toothpick into the center of each loaf. It should come out clean or with a few moist crumbs, but no wet batter.
#6: Let the loaves cool in the pan before removing
Ten minutes of resting time in the pan allows the bread to firm up slightly, making it much easier to turn out onto a wire rack without breaking apart.
Recipe Variations and Substitutes
This pumpkin bread is delicious as written, but it’s also a great base for customizing. Fold in a cup of chocolate chips, chopped walnuts, or pecans for texture, or swap in your own pumpkin pie spice blend in place of the individual cloves, cinnamon, and nutmeg if that’s what you have on hand. You can also stir in a handful of raisins or dried cranberries for little bursts of sweetness in every slice.
Serving Suggestions
Pumpkin bread is wonderful on its own with a cup of coffee or tea, but a smear of softened butter or cream cheese takes it to the next level. It also makes a lovely addition to a fall brunch spread alongside eggs and bacon, or a simple dessert when topped with a dusting of powdered sugar or a drizzle of cream cheese glaze.
Storing and Freezing Tips
Once fully cooled, wrap each loaf tightly in plastic wrap and store at room temperature for up to 3 days, or in the refrigerator for up to a week. For longer storage, wrap the loaves well in plastic and then foil and freeze for up to 3 months, thawing at room temperature before serving.
FAQs
Why is my pumpkin bread dense or gummy in the middle?
This usually happens from underbaking or from packing too much flour into the measuring cup. Be sure to spoon and level your flour, and bake until a cake tester inserted into the center comes out clean.
Can I make this into muffins instead of loaves?
Yes, this batter works well as muffins. Fill lined muffin cups about two-thirds full and bake at the same 325°F temperature for roughly 20 to 25 minutes, checking early for doneness.
Can I use fresh pumpkin puree instead of canned?
You can, but homemade puree tends to hold more water than canned, which can make the bread heavier. If using fresh, strain it well through a cheesecloth or fine sieve to remove excess moisture first.
Do I have to use both baking soda and baking powder?
Yes, this recipe relies on both leaveners working together for the right rise and crumb texture. Baking soda reacts with the acidity in the pumpkin while baking powder adds extra lift, so it’s best not to substitute one for the other.
How do I know when the bread is fully baked?
Start checking at the 65-minute mark by inserting a cake tester or toothpick into the center of the loaf. If it comes out clean or with just a few moist crumbs, the bread is done.
Classic Pumpkin Bread Recipe
Prep time: 20 min | Cook time: 70 min | Total time: 90 min | Servings: 16
Ingredients
For the Dry Ingredients
- 2 cups all-purpose flour, spooned into measuring cup and leveled-off
- ½ teaspoon salt
- 1 teaspoon baking soda
- ½ teaspoon baking powder
- 1 teaspoon ground cloves
- 1 teaspoon ground cinnamon
- 1 teaspoon ground nutmeg
For the Batter
- ¾ cup (1½ sticks) unsalted butter, softened
- 2 cups sugar
- 2 large eggs
- 1 (15-oz) can 100% pure pumpkin (such as Libby’s)
Instructions
- Preheat the oven to 325°F (165°C) and set an oven rack in the middle position. Generously grease two 8 x 4-inch (20 x 10-cm) loaf pans with butter and dust with flour, or use a baking spray with flour built in.
- In a medium bowl, combine the flour, salt, baking soda, baking powder, cloves, cinnamon, and nutmeg. Whisk until well combined and set aside.
- In the large bowl of an electric mixer, beat the butter and sugar on medium speed until just blended. Add the eggs one at a time, beating well after each addition, then continue beating until very light and fluffy, a few minutes.
- Beat in the pumpkin. The mixture may look grainy or curdled at this point — that’s completely normal.
- Add the flour mixture and mix on low speed until just combined.
- Divide the batter evenly between the prepared pans and bake for 65 to 75 minutes, or until a cake tester inserted into the center comes out clean.
- Let the loaves cool in the pans for about 10 minutes, then turn out onto a wire rack to cool completely before slicing.
For an easy variation, stir 1 cup of chocolate chips or chopped walnuts into the batter before baking. Leftover loaves freeze beautifully for up to 3 months when wrapped tightly.
Leave a Reply
You must be logged in to post a comment.