
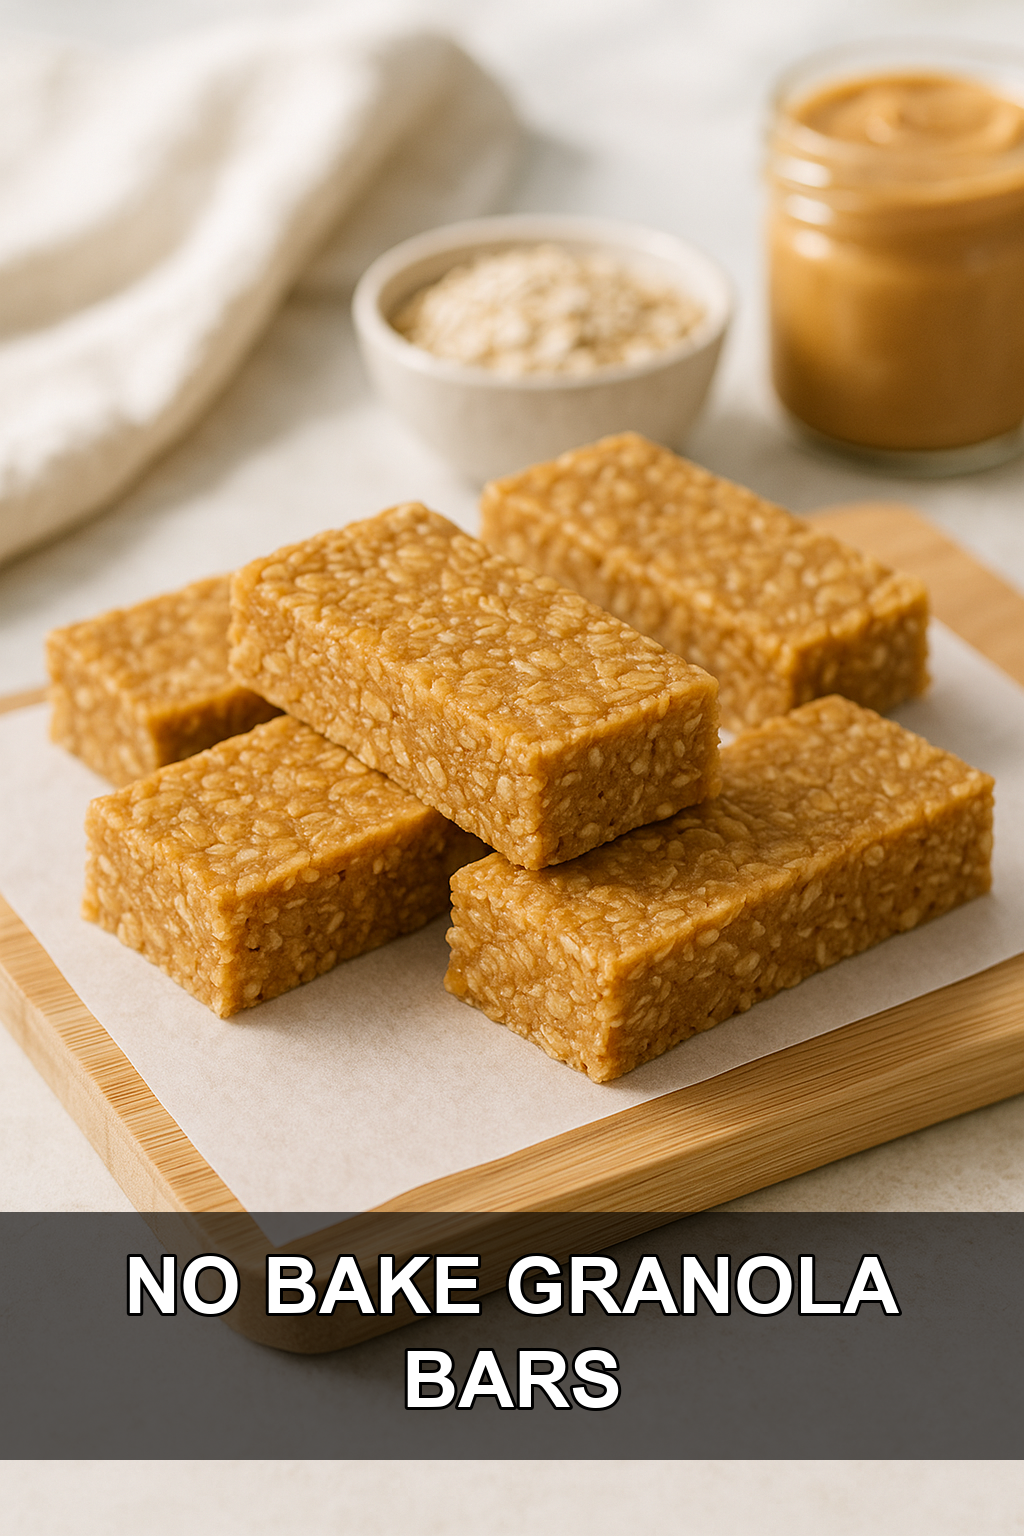
- What Are 3 Ingredient No Bake Granola Bars?
- Tips for Cooking and Prepping
- Recipe Variations and Substitutes
- Serving Suggestions
- Storing, Make-Ahead, and Freezing Tips
- FAQs
- 3 Ingredient No Bake Granola Bars Recipe
If you’ve ever stared at a granola bar wrapper wondering what half those ingredients even are, this recipe is for you. With just three pantry staples and about 10 minutes of hands-on time, you can have a batch of chewy, wholesome granola bars ready to chill in the fridge — no oven, no fancy equipment, no fuss.
What Are 3 Ingredient No Bake Granola Bars?
3 ingredient no bake granola bars are exactly what they sound like: a simple, no-cook snack bar made from just peanut butter, maple syrup (or honey), and rolled oats. The peanut butter and maple syrup act as a natural binder, sticking the oats together into a thick, cookie-dough-like mixture that firms up in the fridge instead of the oven.
They’re a spin on classic granola bars, but without the corn syrup, refined sugar, or long ingredient lists you’ll find in store-bought versions. Because there’s no baking involved, they’re especially handy in warmer months or anytime you want a quick homemade snack without heating up the kitchen.
Tips for Cooking and Prepping
#1: Use natural, no-stir peanut butter carefully
Unsweetened natural peanut butter with no added oils works best here, but if yours is very runny or very dry, the texture of your bars will change. Stir your peanut butter jar well before measuring so the oil and solids are evenly distributed.
#2: Judge the dough by feel, not just the recipe
The mixture should look and feel like a thick cookie dough that holds together when pressed. If it seems dry, crumbly, or won’t stick when pinched, add a little extra maple syrup or honey a tablespoon at a time until it comes together.
#3: Press firmly and evenly for clean bars
Use the parchment-paper trick — laying a second sheet over the top and pressing down with your palms — to compact the mixture evenly. A well-packed, even surface makes a huge difference in how cleanly the bars slice later.
#4: Don’t skip the chill time
These bars firm up in the fridge, not in the oven, so give them the full 30 minutes to an hour before slicing. Cutting too early will leave you with a crumbly mess instead of neat bars.
#5: Use a sharp knife and a straight-down cut
A large, sharp knife works best for cutting clean edges. Press straight down rather than sawing back and forth, which can cause the bars to crumble apart.
Recipe Variations and Substitutes
This base recipe is endlessly customizable. Swap the peanut butter for almond butter, cashew butter, or sunflower seed butter (great for nut-free needs), and use honey instead of maple syrup if you prefer, or vice versa for a vegan version. Once the oats, nut butter, and sweetener are mixed, stir in about 1/2 cup of mix-ins like mini chocolate chips, dried cranberries, raisins, shredded coconut, chopped nuts, or a sprinkle of cinnamon for extra flavor and texture.
Serving Suggestions
These granola bars are perfect for busy mornings, post-workout snacks, lunchbox additions, or an afternoon energy boost. Pair one with a piece of fruit or a glass of milk for a more filling snack, or crumble a bar over yogurt for a homemade granola-style topping.
Storing, Make-Ahead, and Freezing Tips
Store any uneaten bars in an airtight container in the fridge, where they’ll keep well for up to a week or two. They also freeze beautifully — wrap individual bars in parchment or plastic wrap, store in a freezer bag, and thaw at room temperature or in the fridge whenever a craving hits.
FAQs
Do these granola bars need to be refrigerated?
Yes, since there’s no baking involved and no preservatives, these bars hold their shape best when stored in the fridge in an airtight container.
Why are my granola bars falling apart?
This usually means the mixture was too dry or wasn’t pressed firmly enough into the pan. Try adding a little extra maple syrup or honey next time, and make sure to press the mixture down firmly and chill it fully before slicing.
Can I use quick oats instead of rolled oats?
Yes, both rolled oats and quick oats work well in this recipe and will give you a similarly chewy texture, though quick oats create a slightly finer, more compact bar.
Can I make these granola bars vegan?
Absolutely — simply use maple syrup instead of honey and this recipe is naturally vegan, since the other ingredients are already plant-based.
How long do no bake granola bars last?
Stored in an airtight container in the fridge, these bars typically stay fresh for up to 1-2 weeks, and they can also be frozen for longer storage.
3 Ingredient No Bake Granola Bars Recipe
Prep time: 10 min | Cook time: 0 min | Total time: 10 min | Servings: 12
Ingredients
- 1 cup (256g) unsweetened natural peanut butter with no added oils
- 5 tbsp (2.5fl oz/74ml) maple syrup or honey (or more as needed)
- 2 cups (192g) rolled oats or quick oats
Instructions
- Line the bottom of an 8 inch square pan with parchment paper, leaving some overhang on the sides for easy removal later.
- Add the peanut butter, maple syrup, and oats to a large bowl. Stir until evenly combined and all the oats are coated. The mixture should be thick, like a cookie dough. If it seems dry or crumbly, add a little more maple syrup until the dough no longer feels dry, or add more if you’d like it sweeter. If using mix-ins, stir in about 1/2 cup now.
- Transfer the mixture into your prepared pan. Use your hands or a spatula to press and spread it evenly across the pan. For an extra smooth surface, place a sheet of parchment paper over the top and press your hand across the pan a few times, then remove the parchment.
- Place the pan in the fridge for 30 minutes to 1 hour to help the bars set firmer.
- Once set, use a large sharp knife to cut into 8-12 bars. Store any uneaten bars in an airtight container in the fridge.
For a nut-free version, swap the peanut butter for sunflower seed butter. Add-ins like chocolate chips, dried fruit, or chopped nuts can be stirred in right before pressing the mixture into the pan.
Leave a Reply
You must be logged in to post a comment.